How To Create : A Storage Account, A Container Storage And A Blob Storage


An Azure storage account contains all of your Azure Storage data objects: blobs, files, queues, and tables. The storage account provides a unique namespace for your Azure Storage data that is accessible from anywhere in the world over HTTP or HTTPS.
Storage account in Azure is a method of creating a storage service for storing data in it. It contains all the Azure storage objects decided into a single resource group. It contains Blob, queue, tables, and files with disk images. It uniquely provides namespace and service access to functions of storage.
The Azure storage account is durable, highly available, and scalable. By using Azure storage account services, we don’t need to worry about space because it will be scaled upon our demand. The Azure storage account is a container that groups a set of Azure storage services together. Only data services from Azure storage can be included in a storage account.
CREATING A STORAGE ACCOUNT
To create an Azure storage account with the Azure portal, follow these steps:
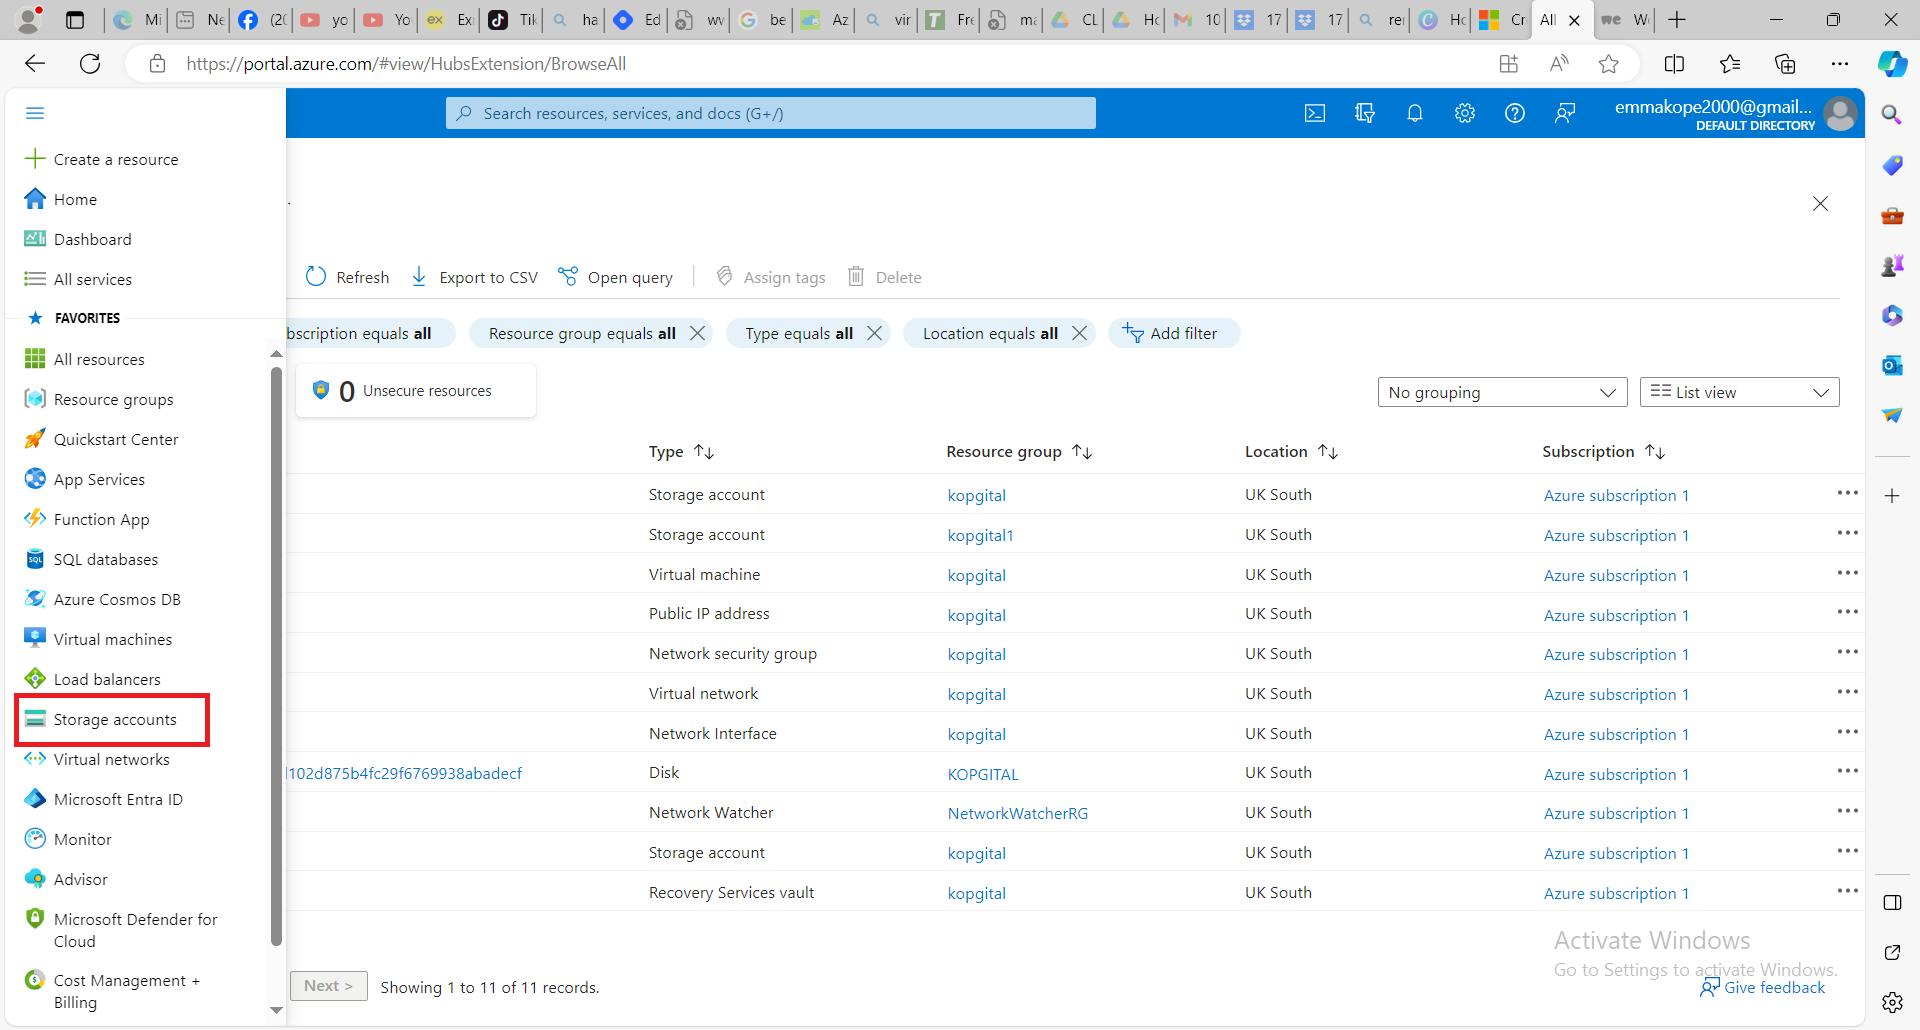
From the left portal menu, select Storage accounts to display a list of your storage accounts.
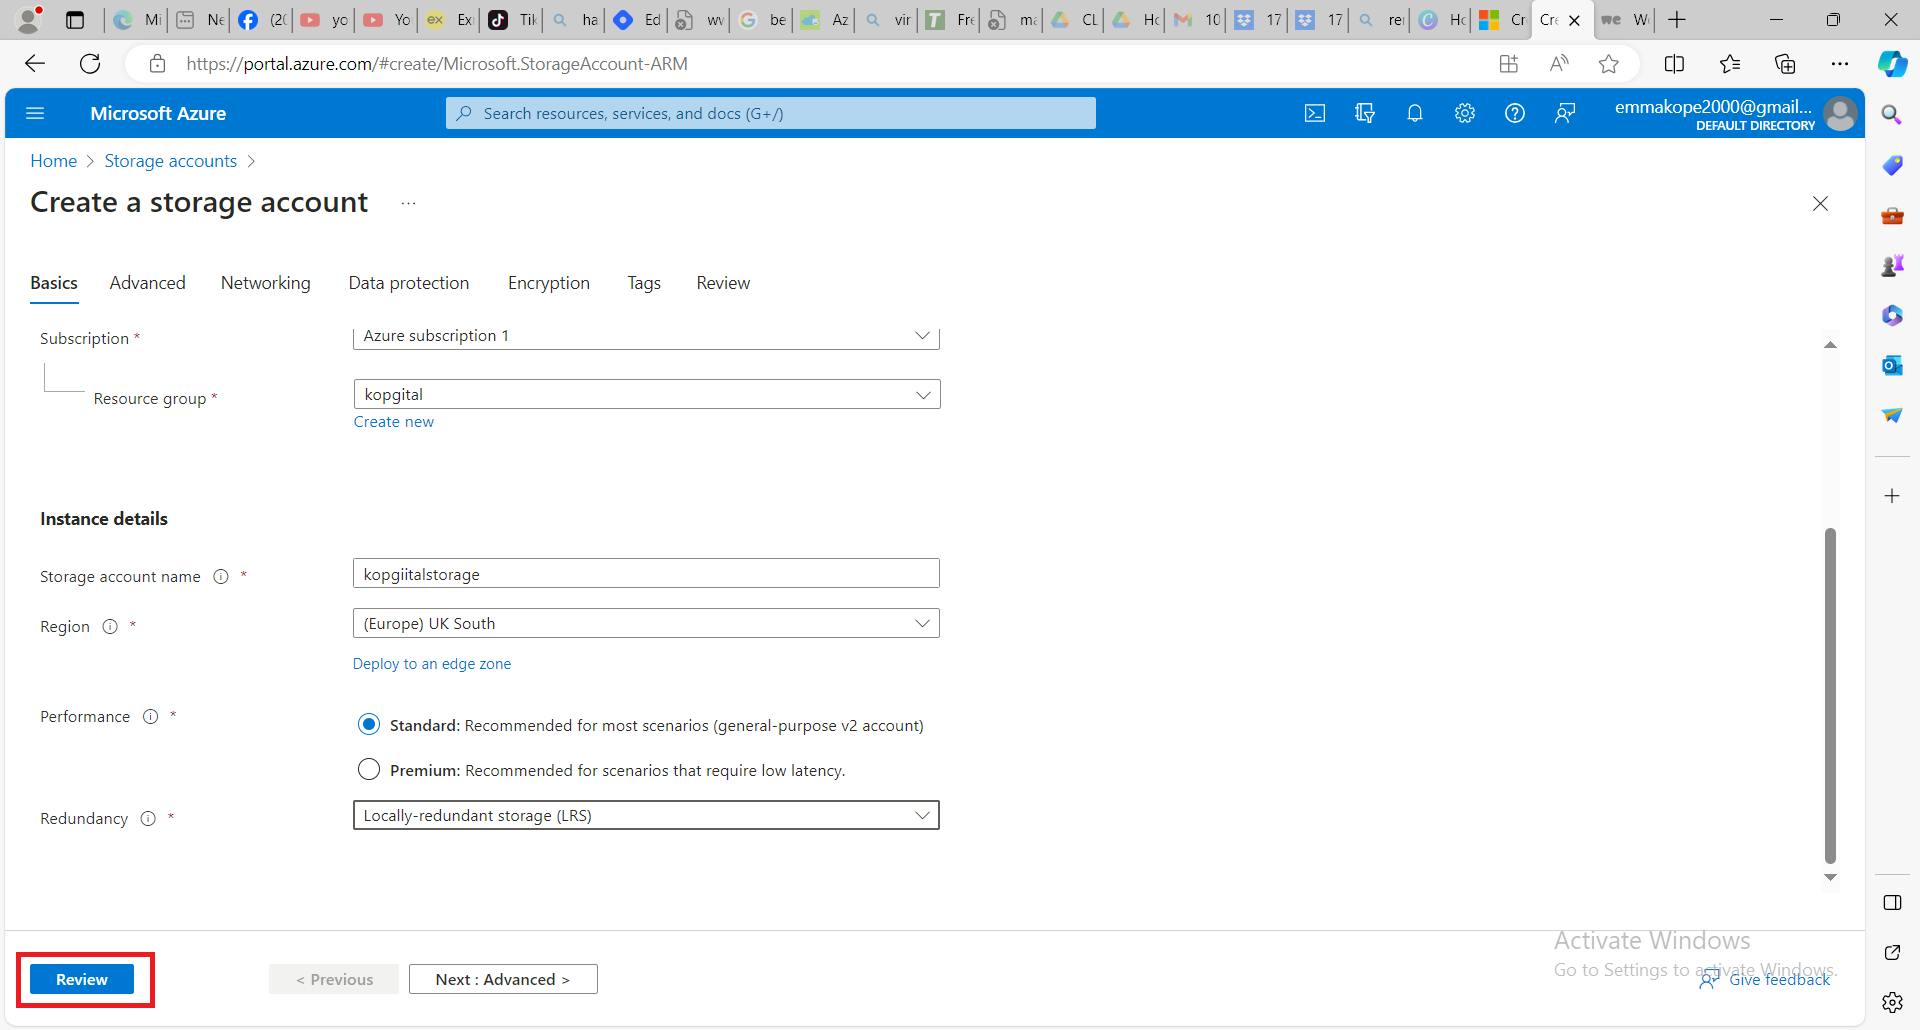
- On the Storage accounts page, select Create. By clicking the create button, a new page will open up having different tabs to continue with the storage account you are creating

Options for your new storage account are organized into tabs in the Create a storage account page. These tabs are - Basics, Advanced, Networking, Data protection, Encryption, Tags and Review
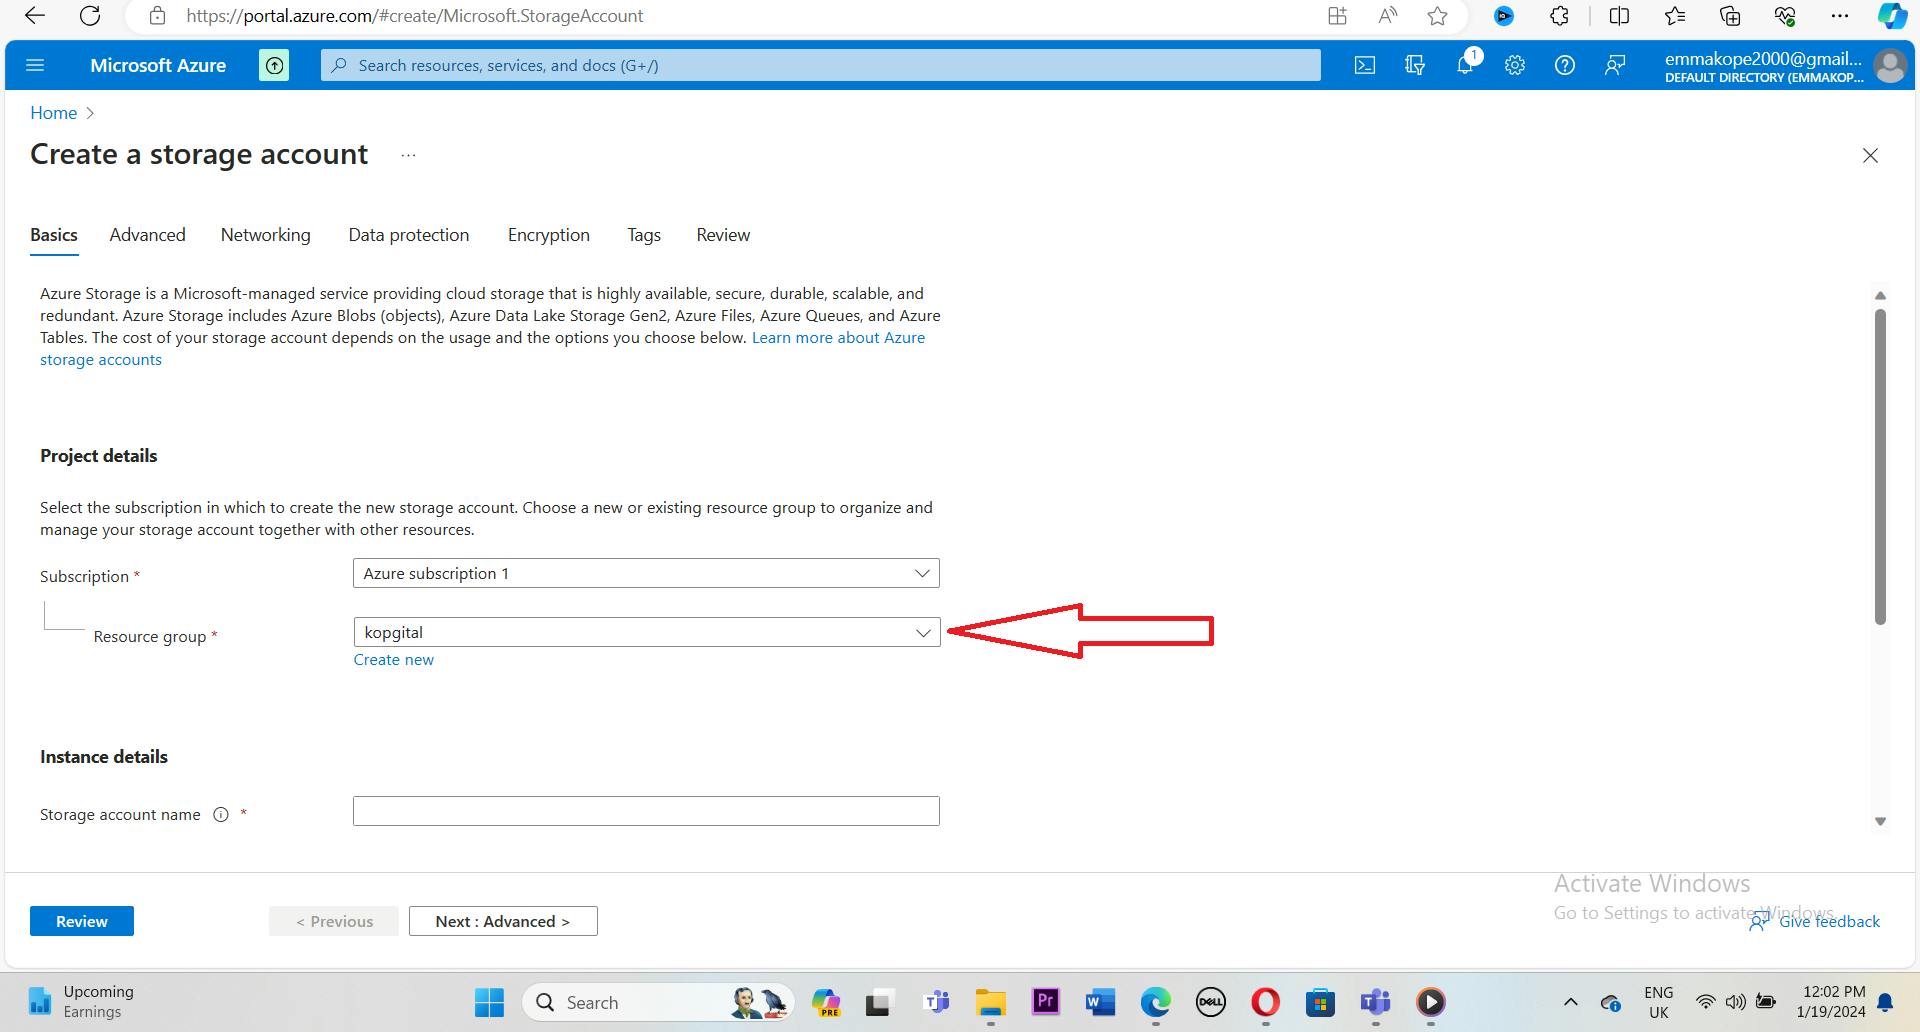
- Select the subscription for the new storage account.
- Give a name to your resource group
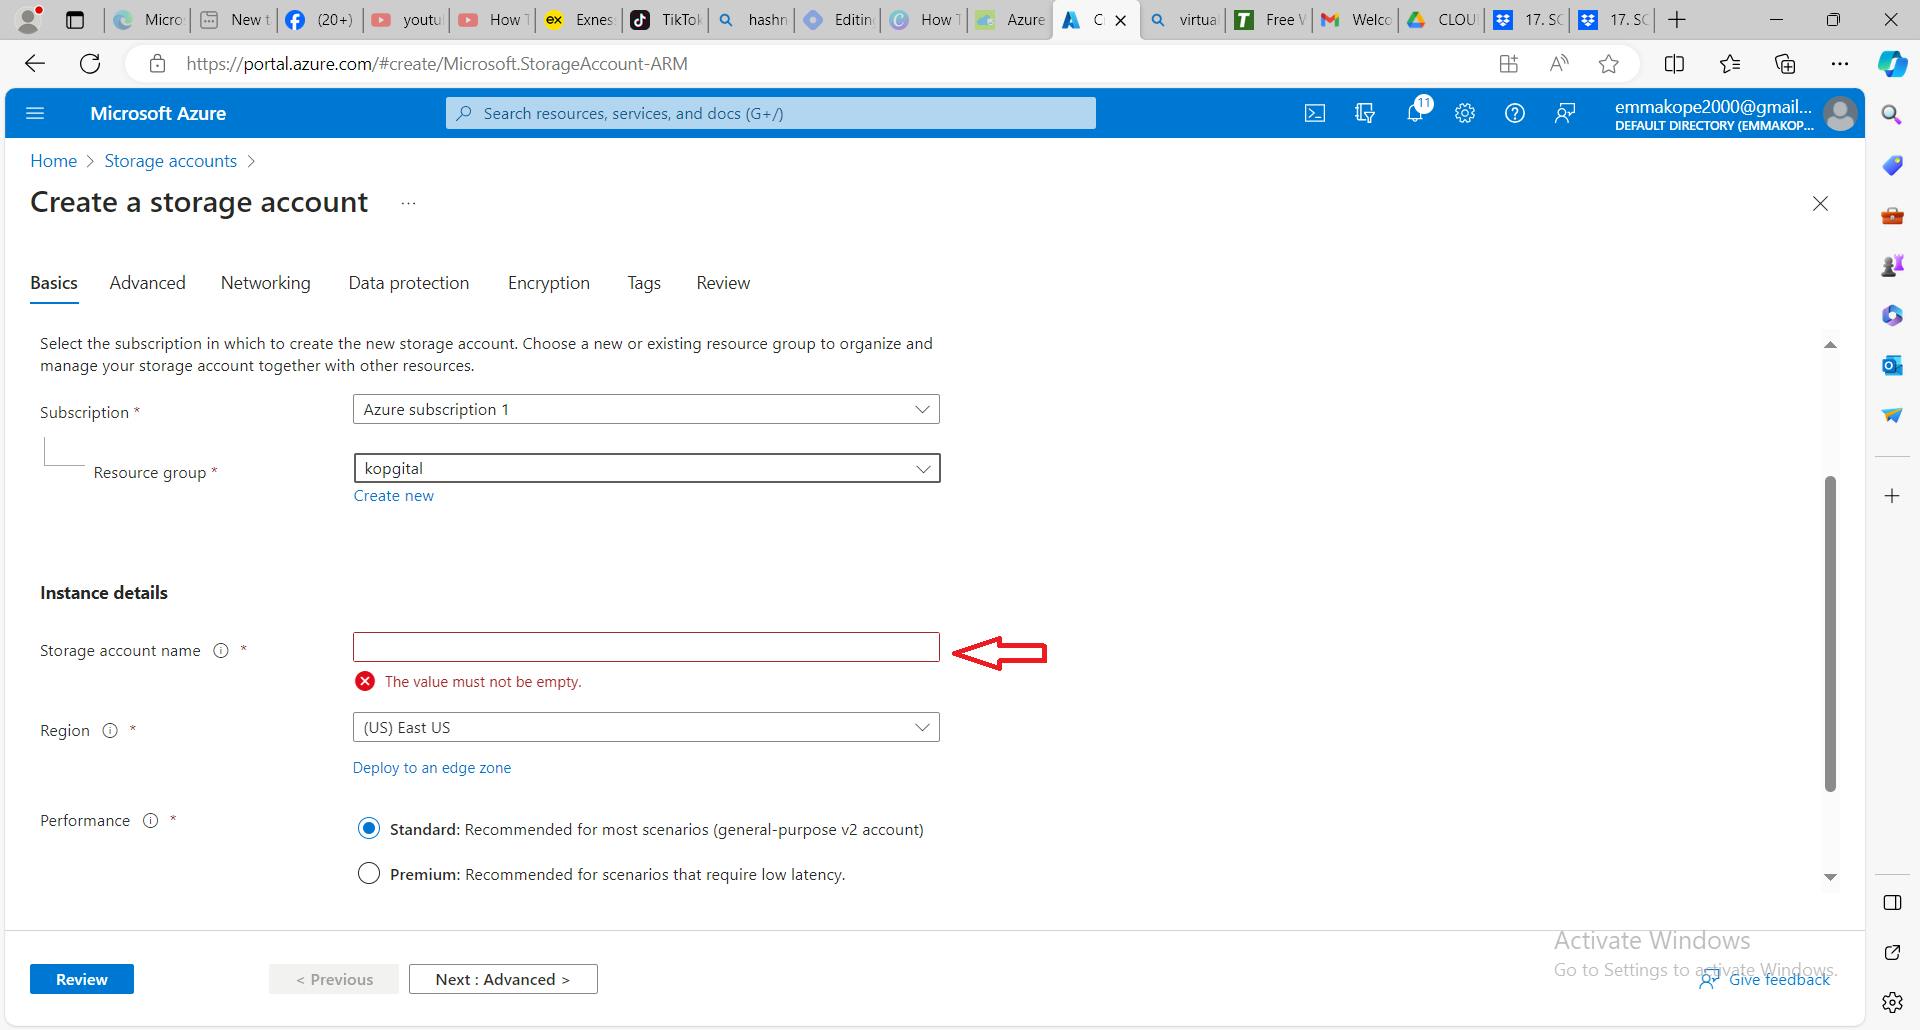
- Choose a unique name for your storage account. Storage account names must be between 3 and 24 characters in length and might contain numbers and lowercase letters only.
Select the appropriate region for your storage account. The box with the red arrow shows the various regions available when you click on the drop down
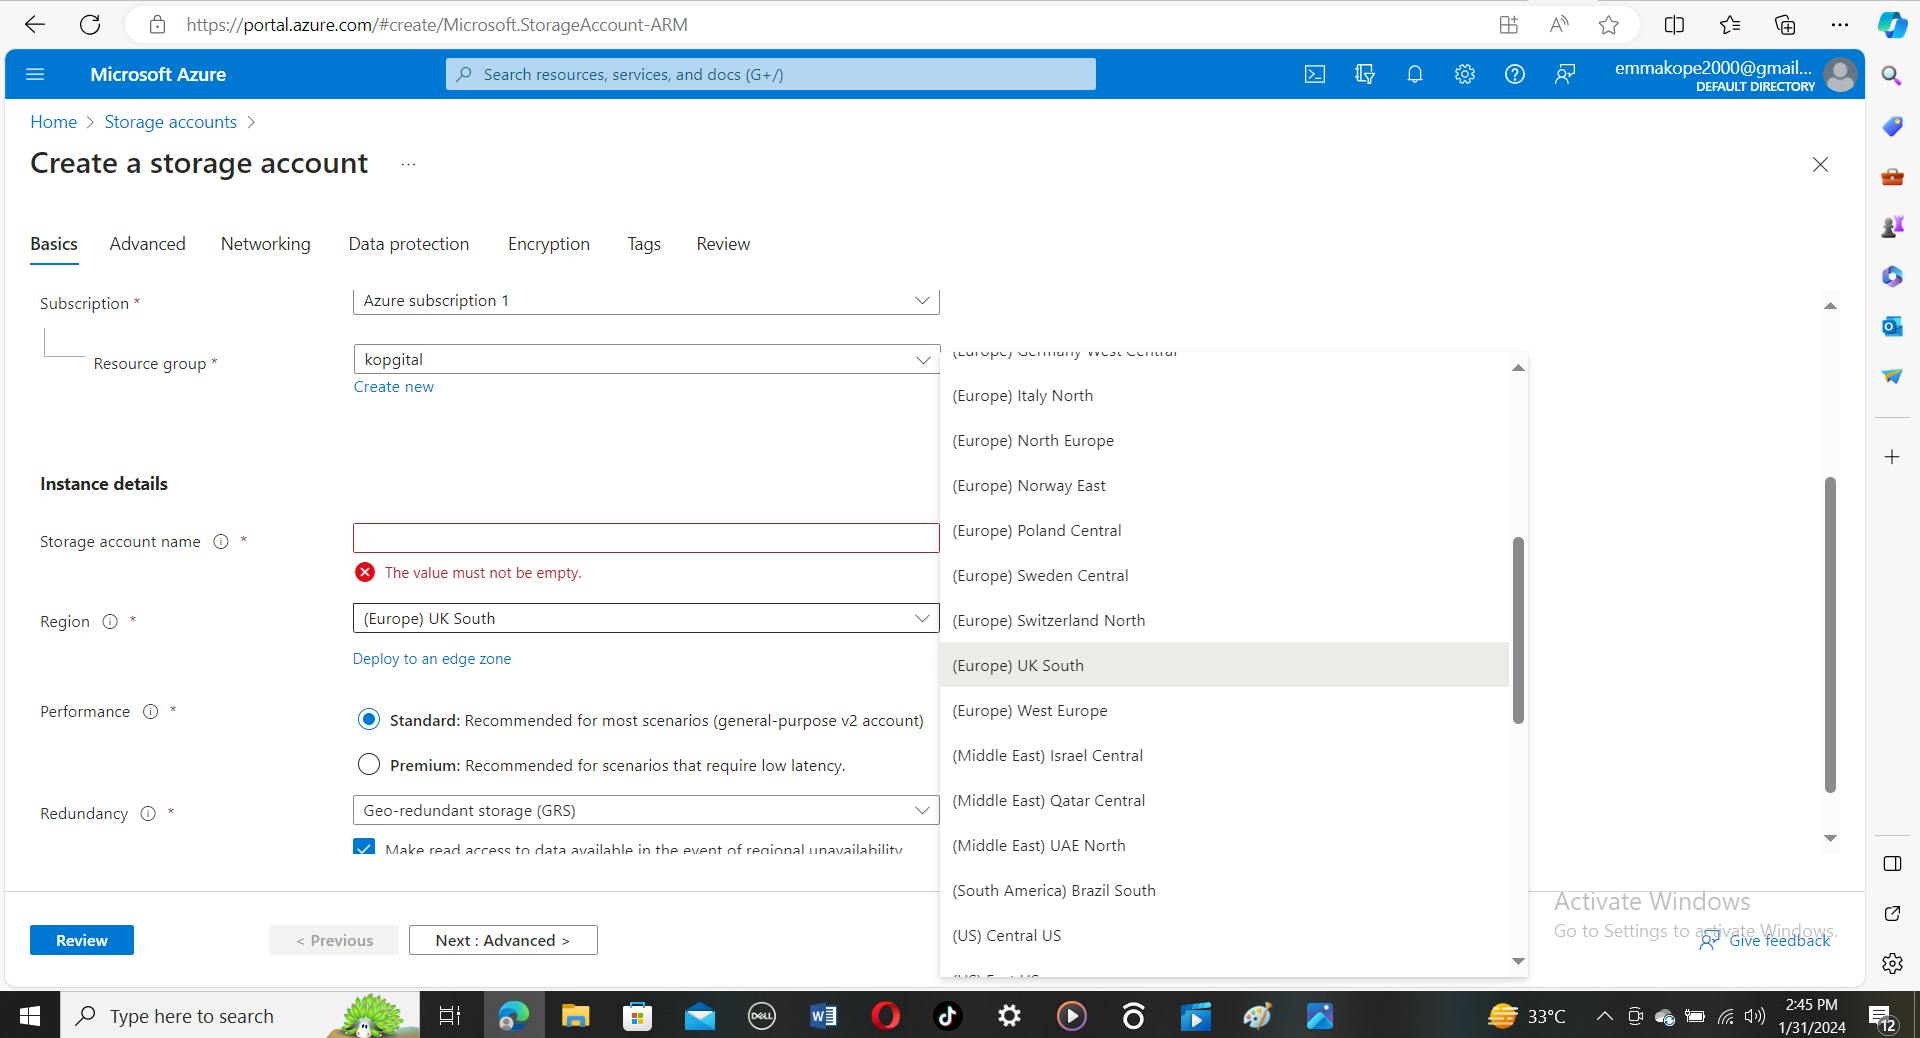
Not all regions are supported for all types of storage accounts or redundancy configurations. The choice of region can have a billing impact.
Under instance details performance, select Standard performance for general-purpose v2 storage accounts (default). This type of account is recommended by Microsoft for most scenarios just as the one marked with color red above.
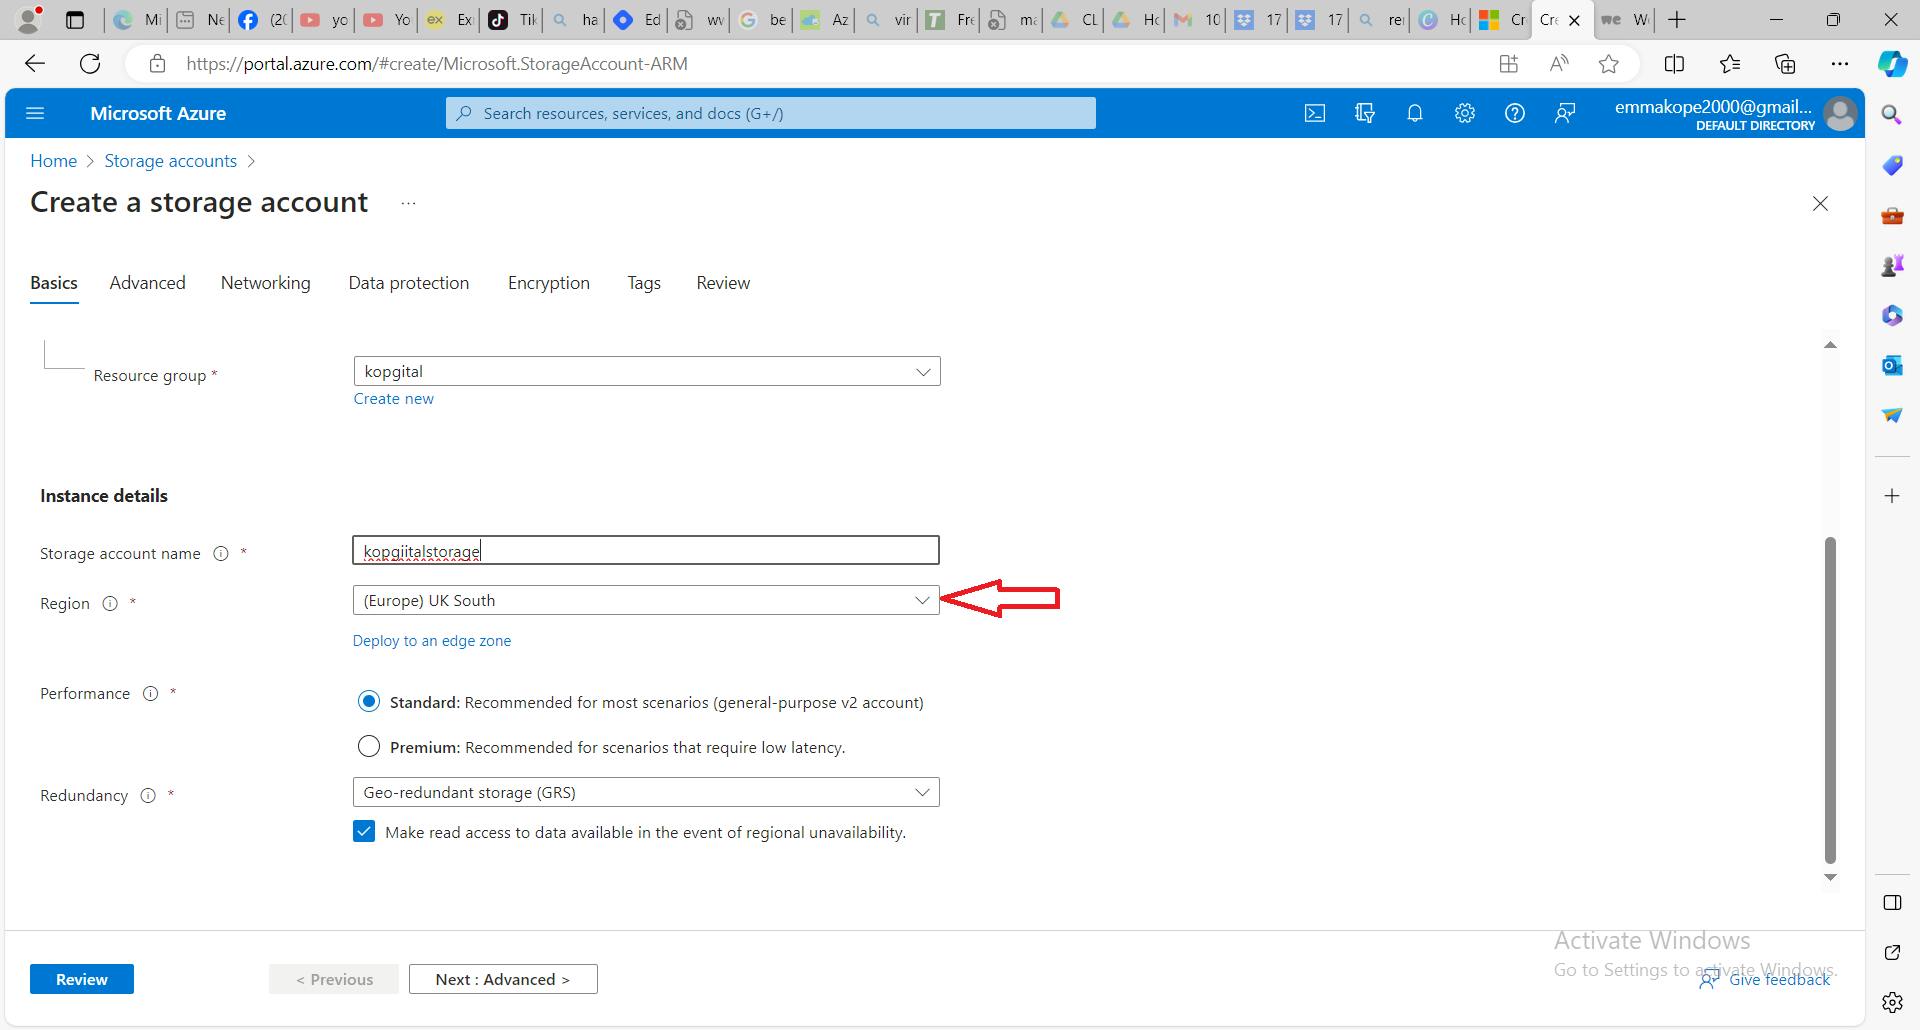
Under redundancy, select your desired redundancy configuration. Not all redundancy options are available for all types of storage accounts in all regions.
If you select a geo-redundant configuration (GRS or GZRS), your data is replicated to a data center in a different region. For read access to data in the secondary region, select Make read access to data available in the event of regional unavailability. Also, for the sake of low charges in this project, we will select a low redundancy configuration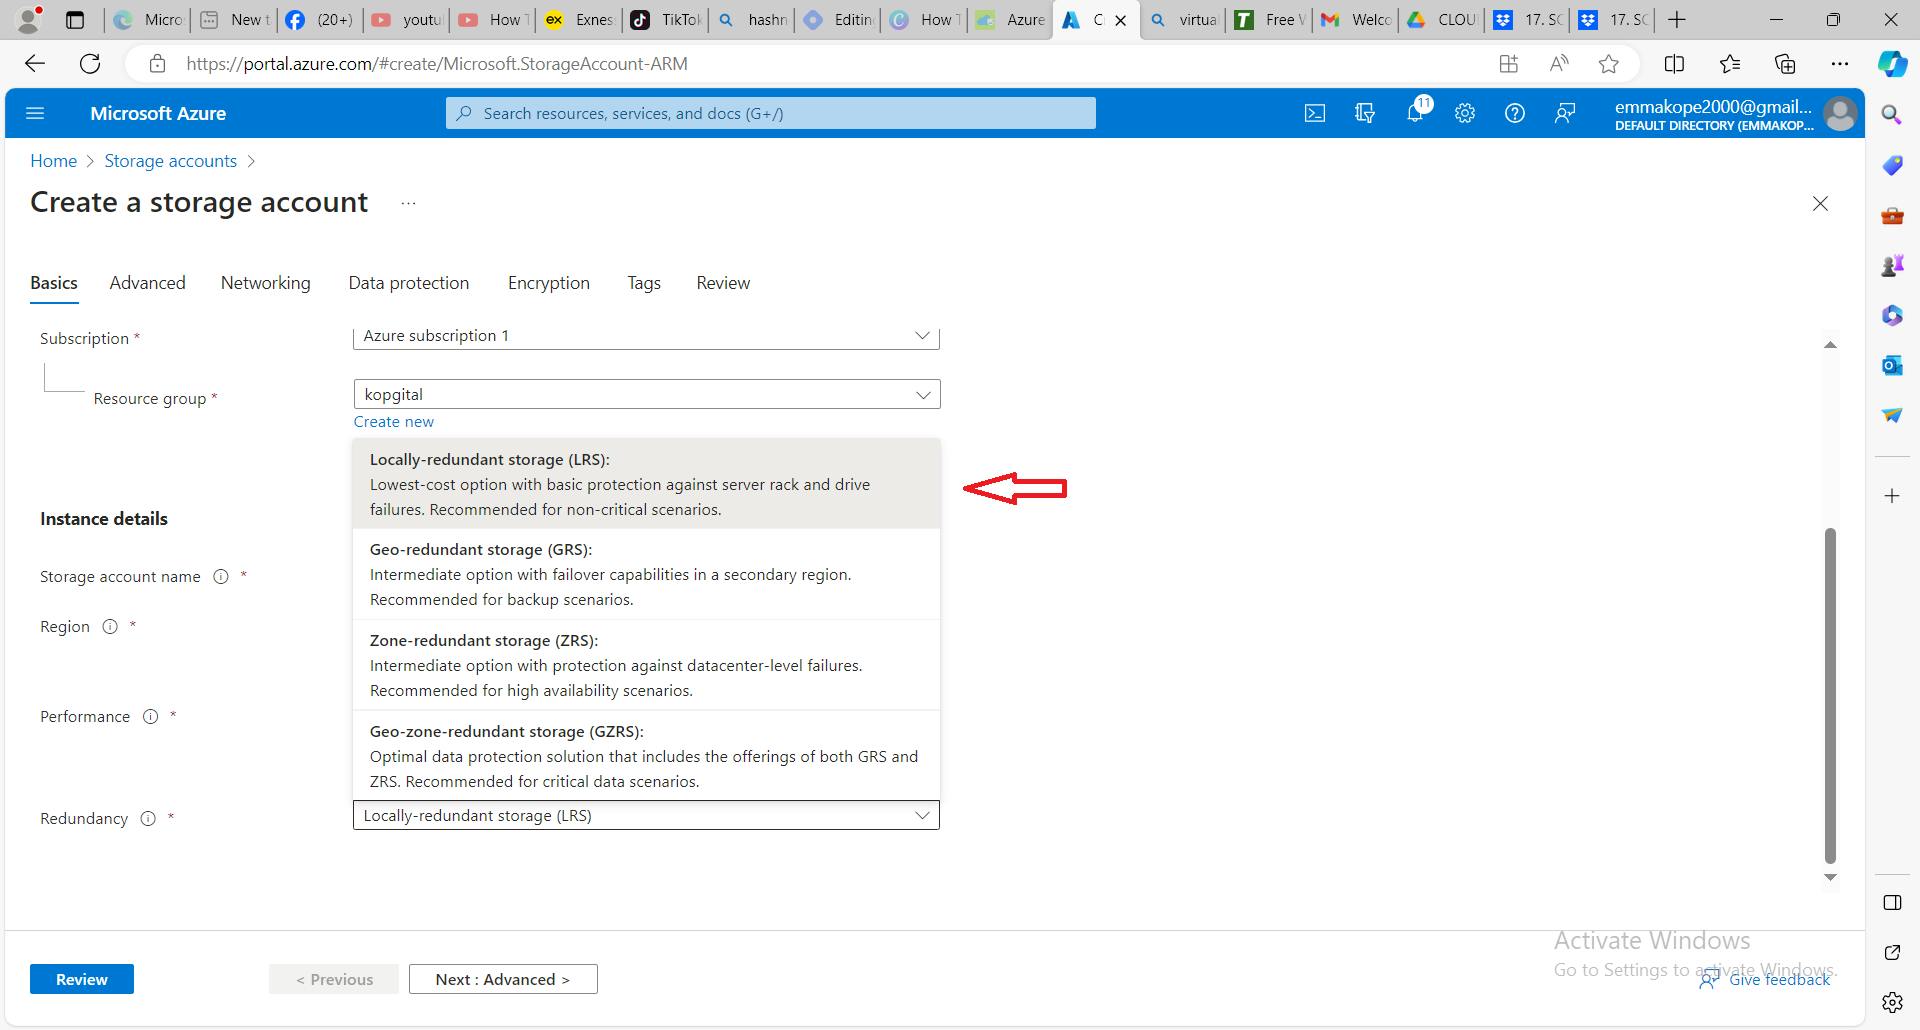
Hence we have the image below
Click on the next button to move to the Advanced tab.
The following describes the fields on the Advanced tab.
SECURITY
Require secure transfer for REST API operations (Optional) Require secure transfer to ensure that incoming requests to this storage account are made only via HTTPS (default). Recommended for optimal security.
Allow enabling anonymous access on individual containers (Optional)
When enabled, this setting allows a user with the appropriate permissions to enable anonymous access to a container in the storage account (default). Disabling this setting prevents all anonymous access to the storage account. Microsoft recommends disabling this setting for optimal security.
Enable storage account key access (Optional) When enabled, this setting allows clients to authorize requests to the storage account using either the account access keys or a Microsoft Entra account (default). Disabling this setting prevents authorization with the account access keys.
(WE MAY NEED TO JUMP THROUGH THE OTHER TABS SINCE EVERYTHING THEREIN ARE LEFT AS DEFAULT)
Click on review to continue with creating the storage account
- When you click on the review button, the deployment will be reviewed and processed as seen in the image below
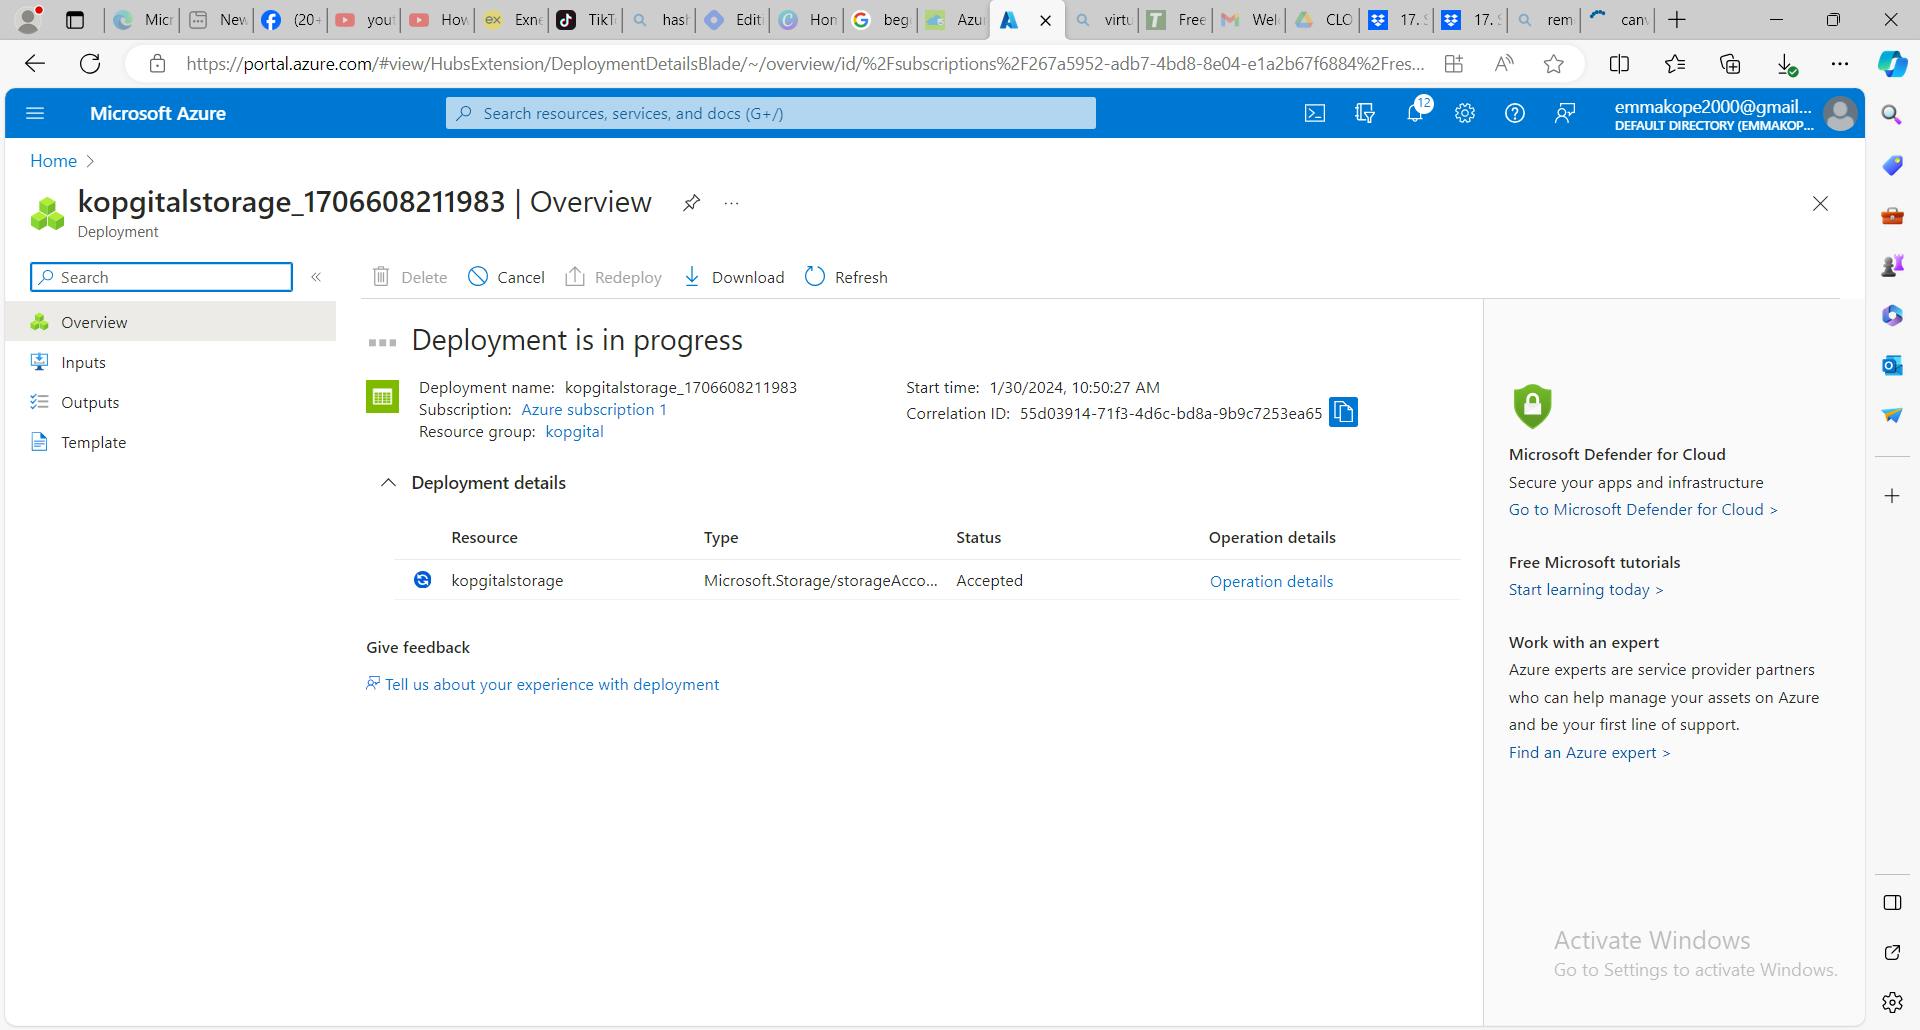
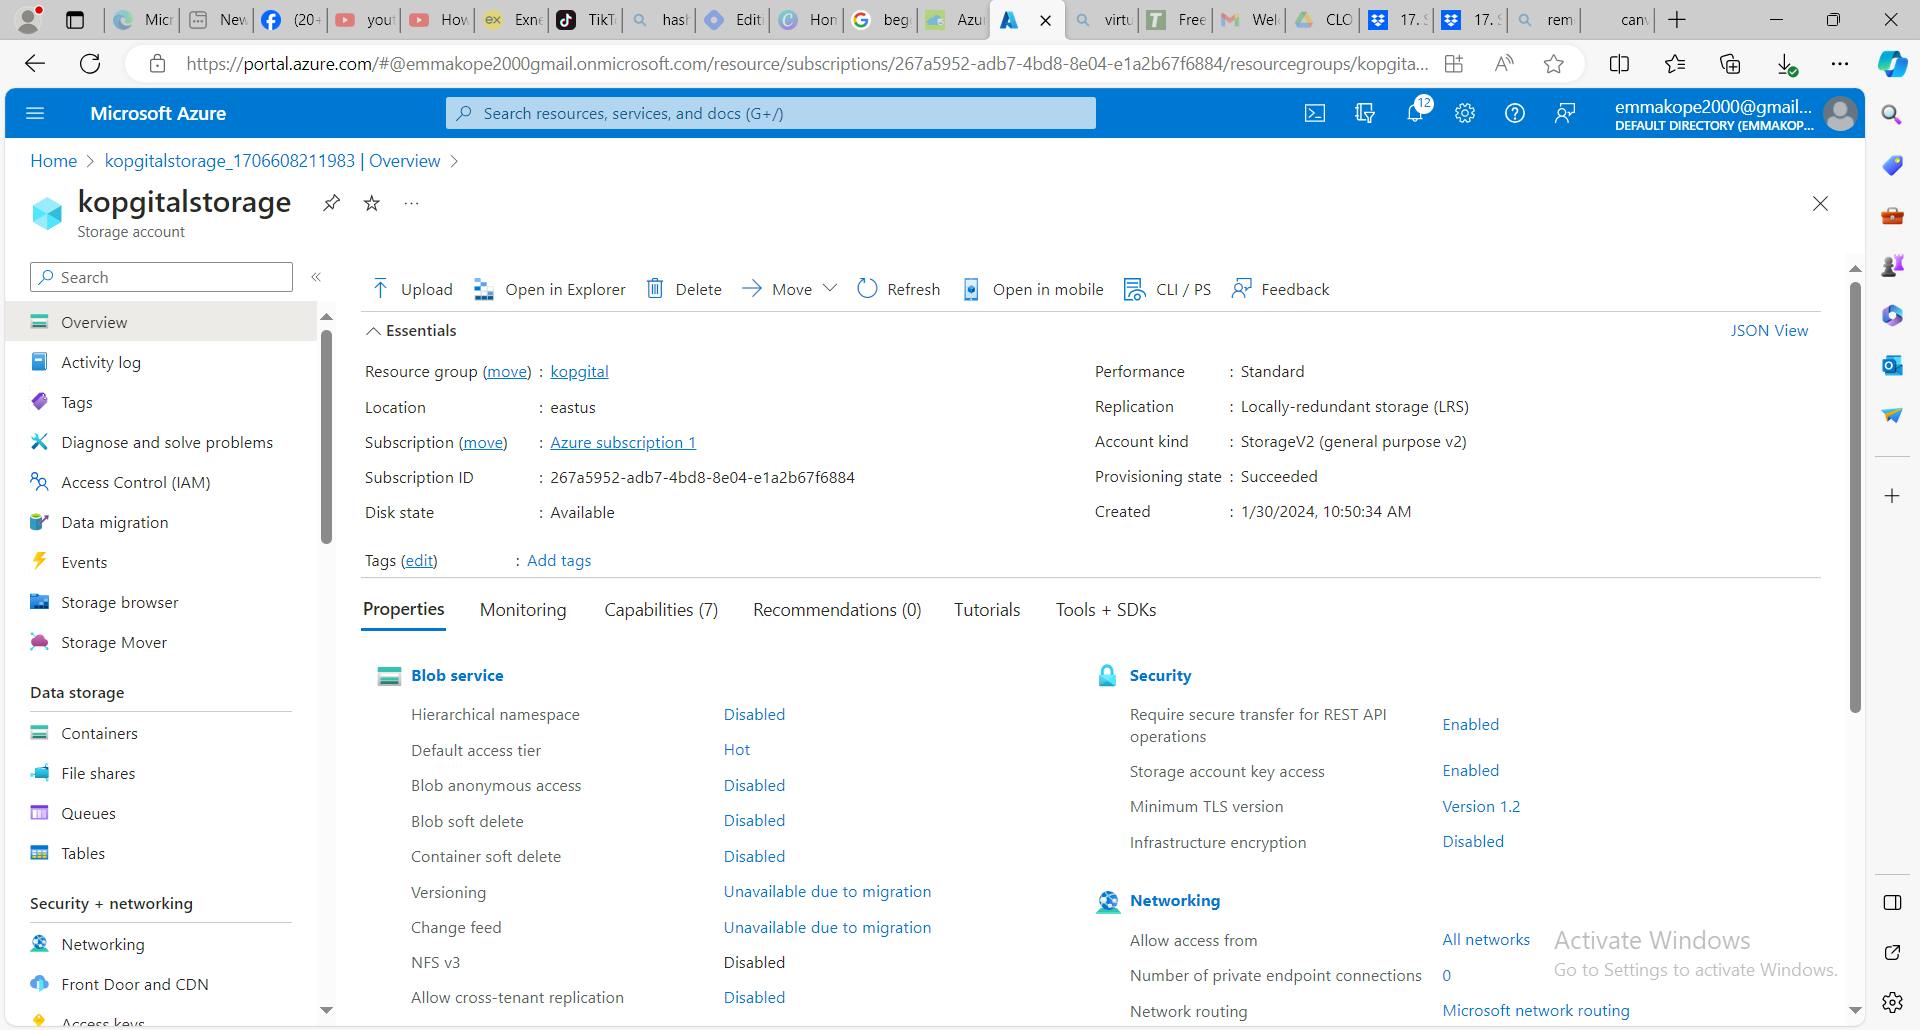
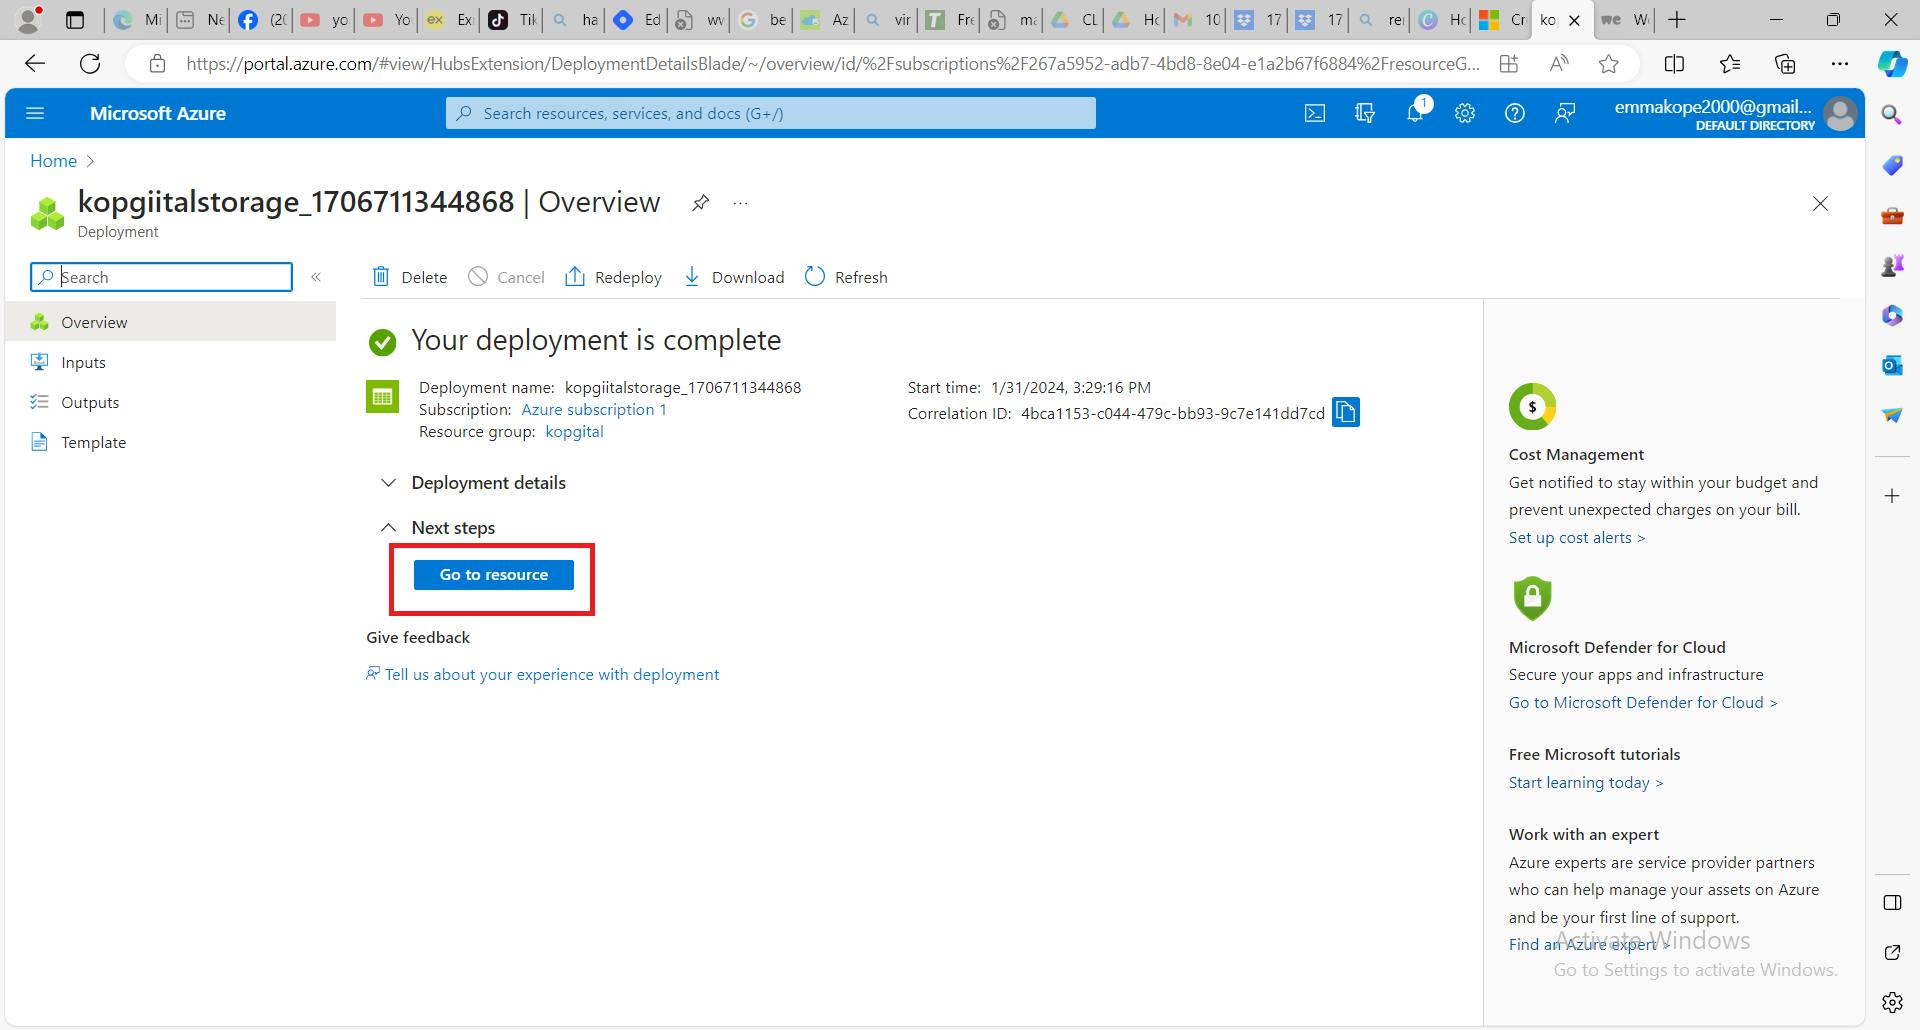
After the deployment is completed, click on the 'go to resource' button
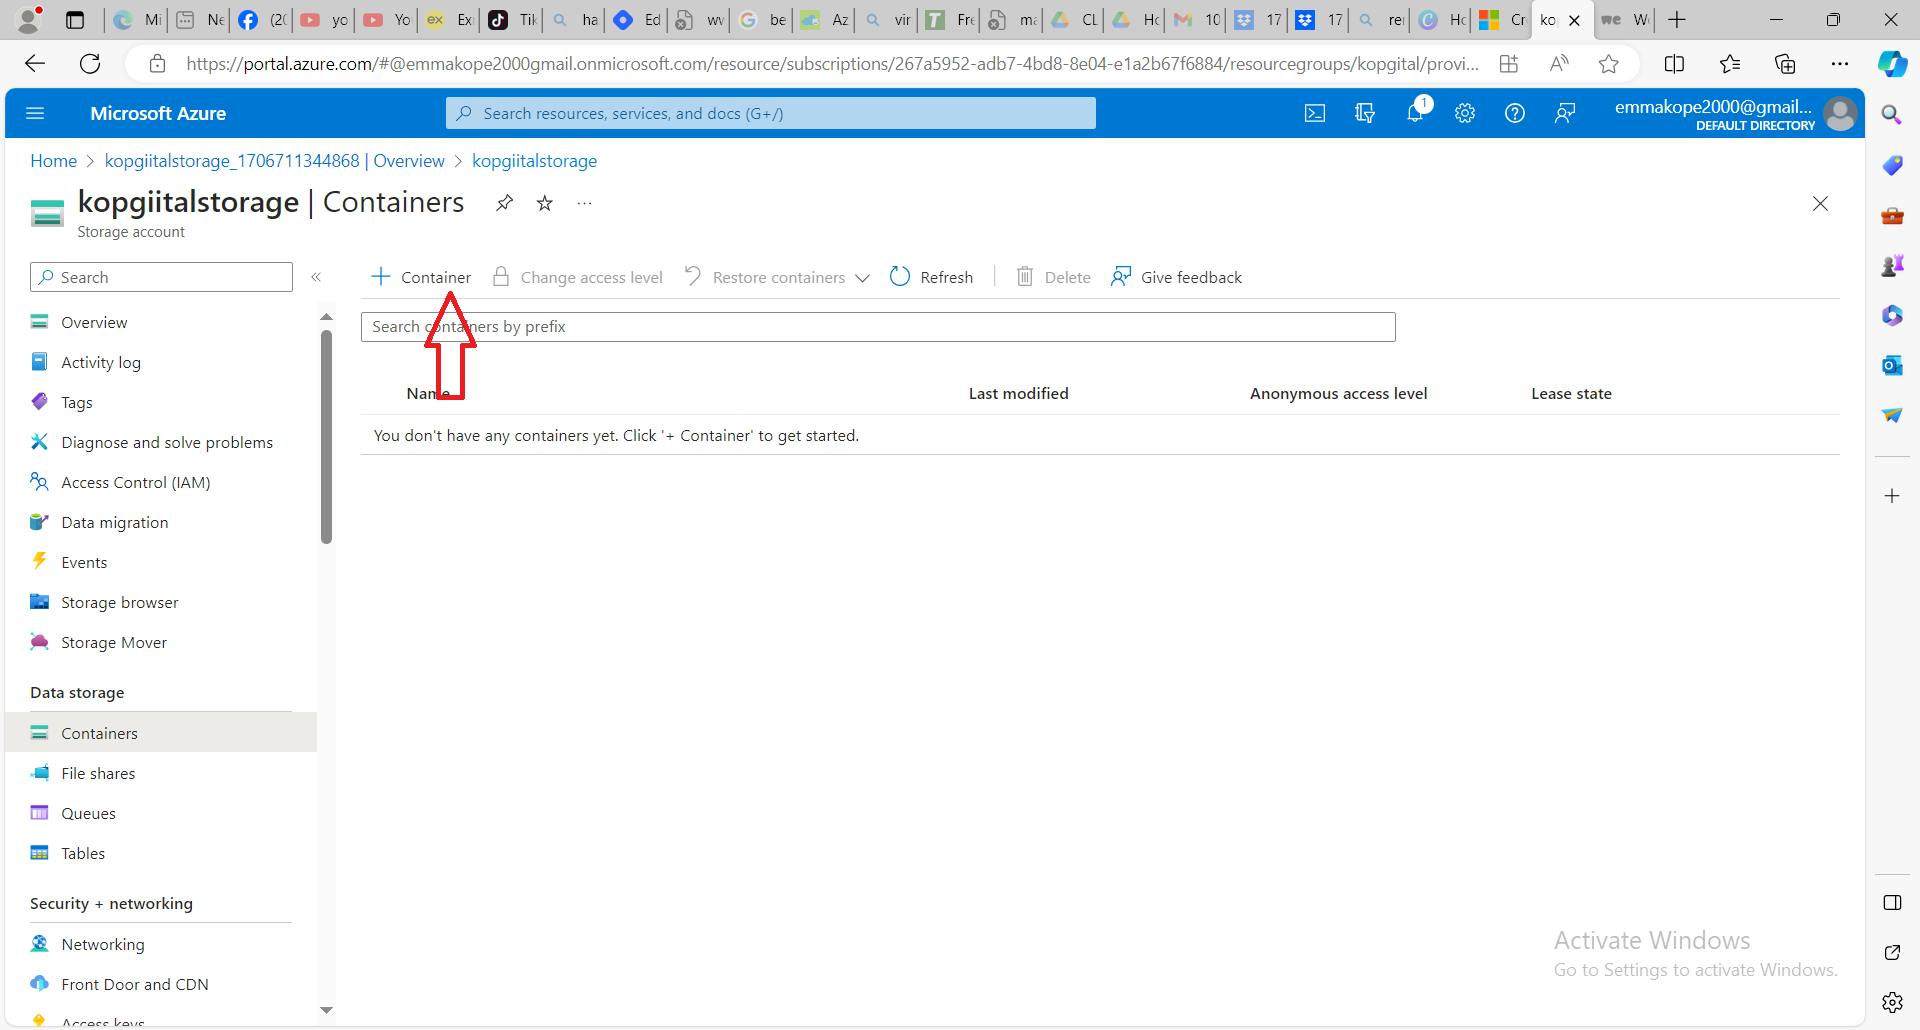
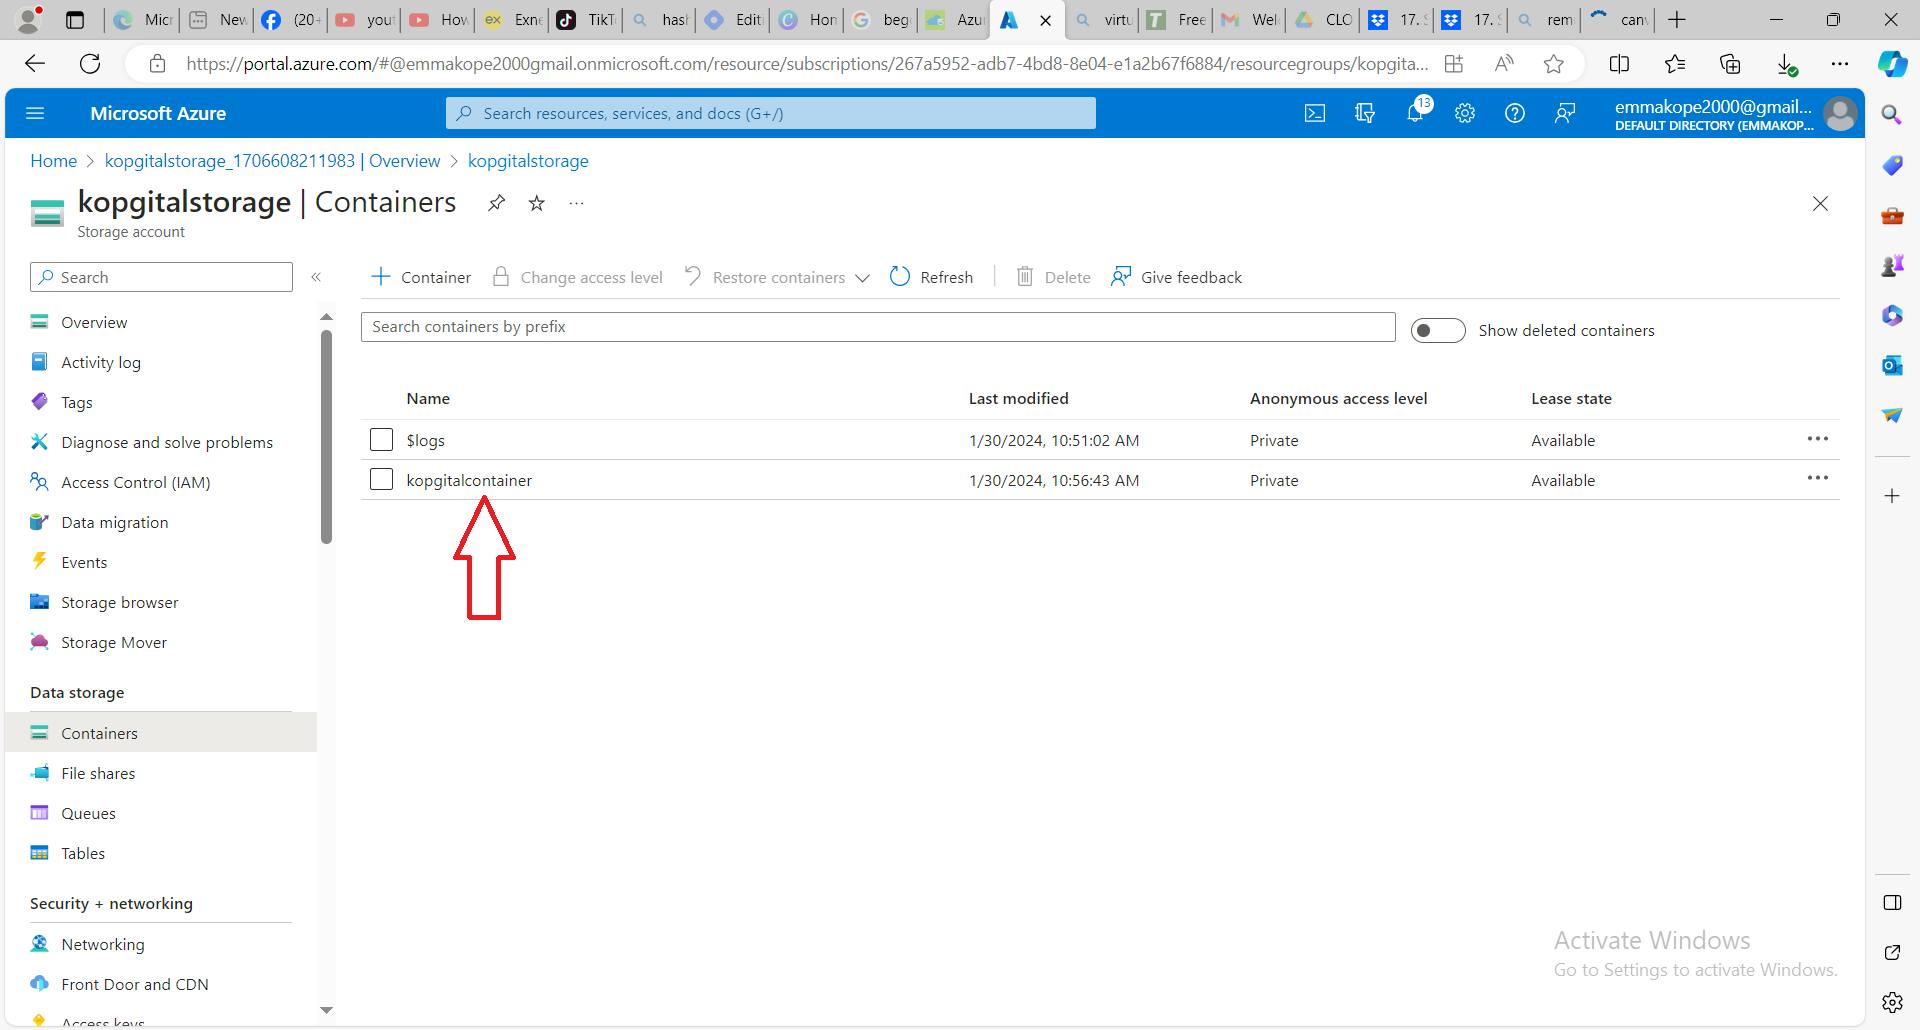
CREATING A CONTAINER STORAGE
From the image below, click on the container box marked with the red arrow
Click on the container with the + sigh marked with the red arrow above to create and name your container.
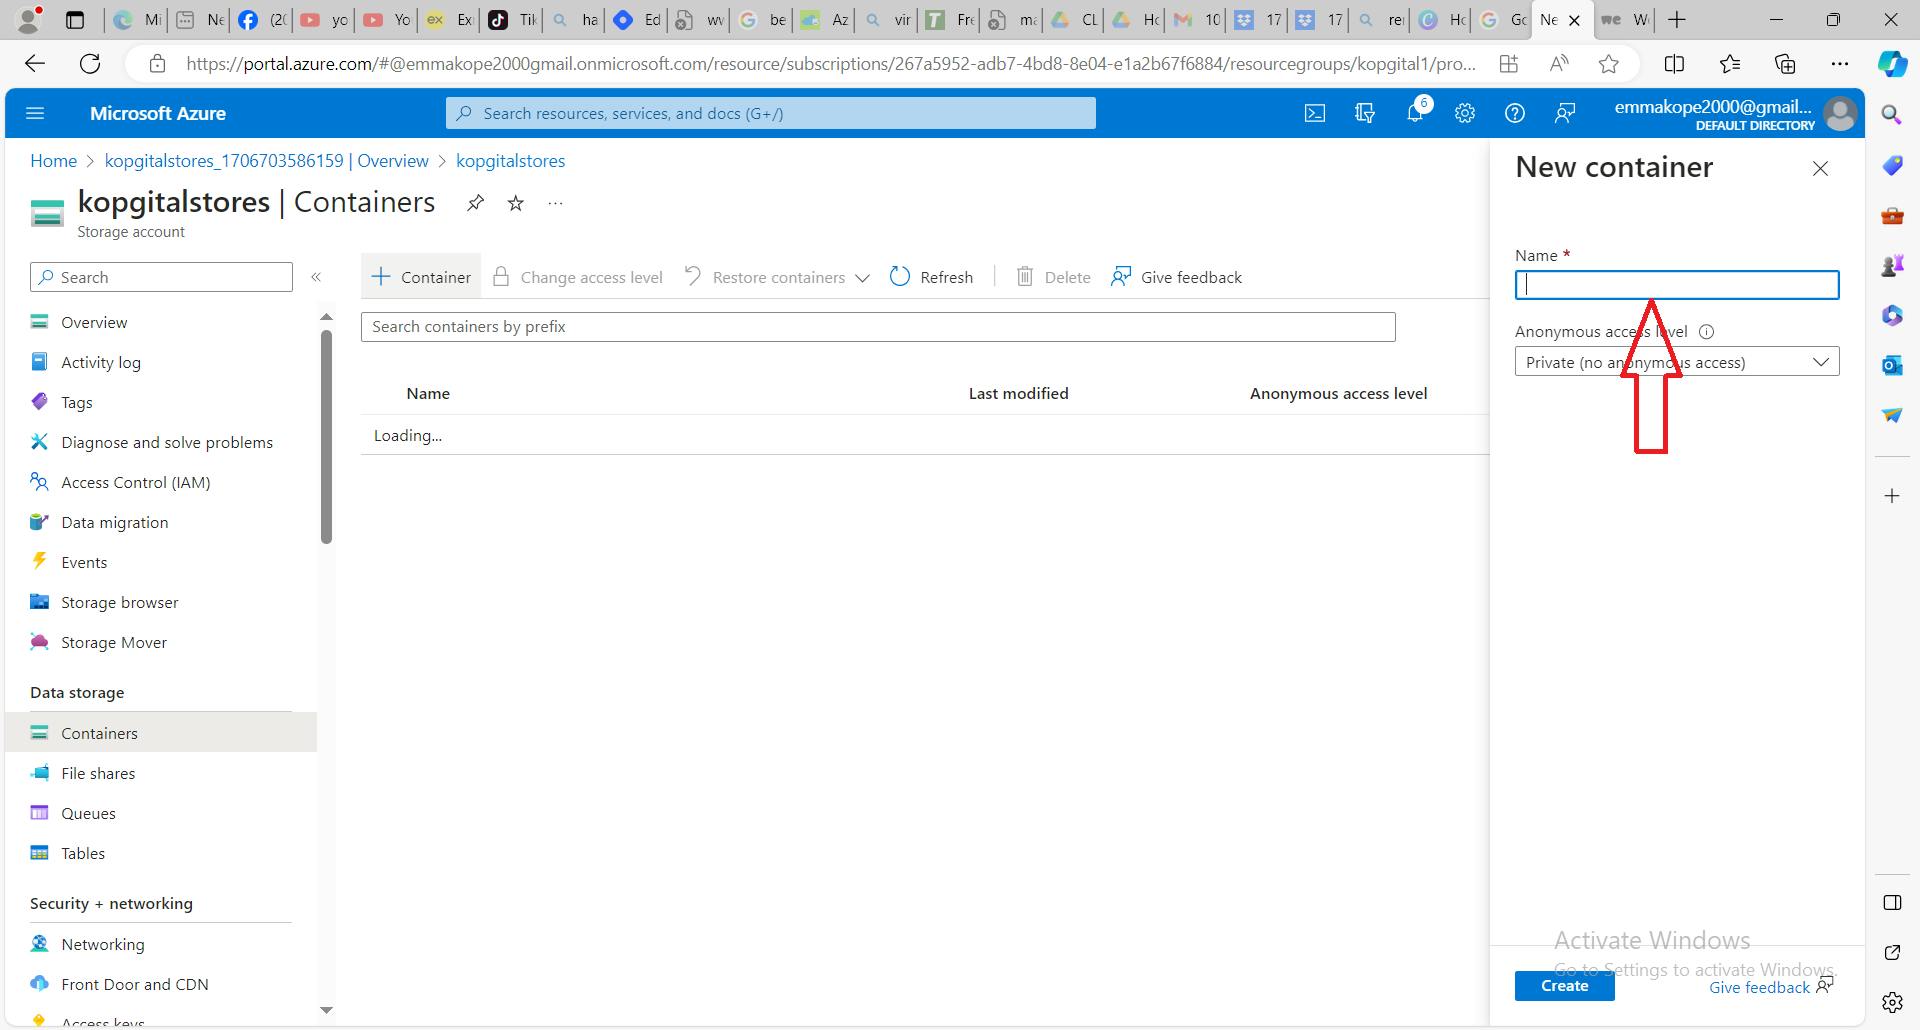
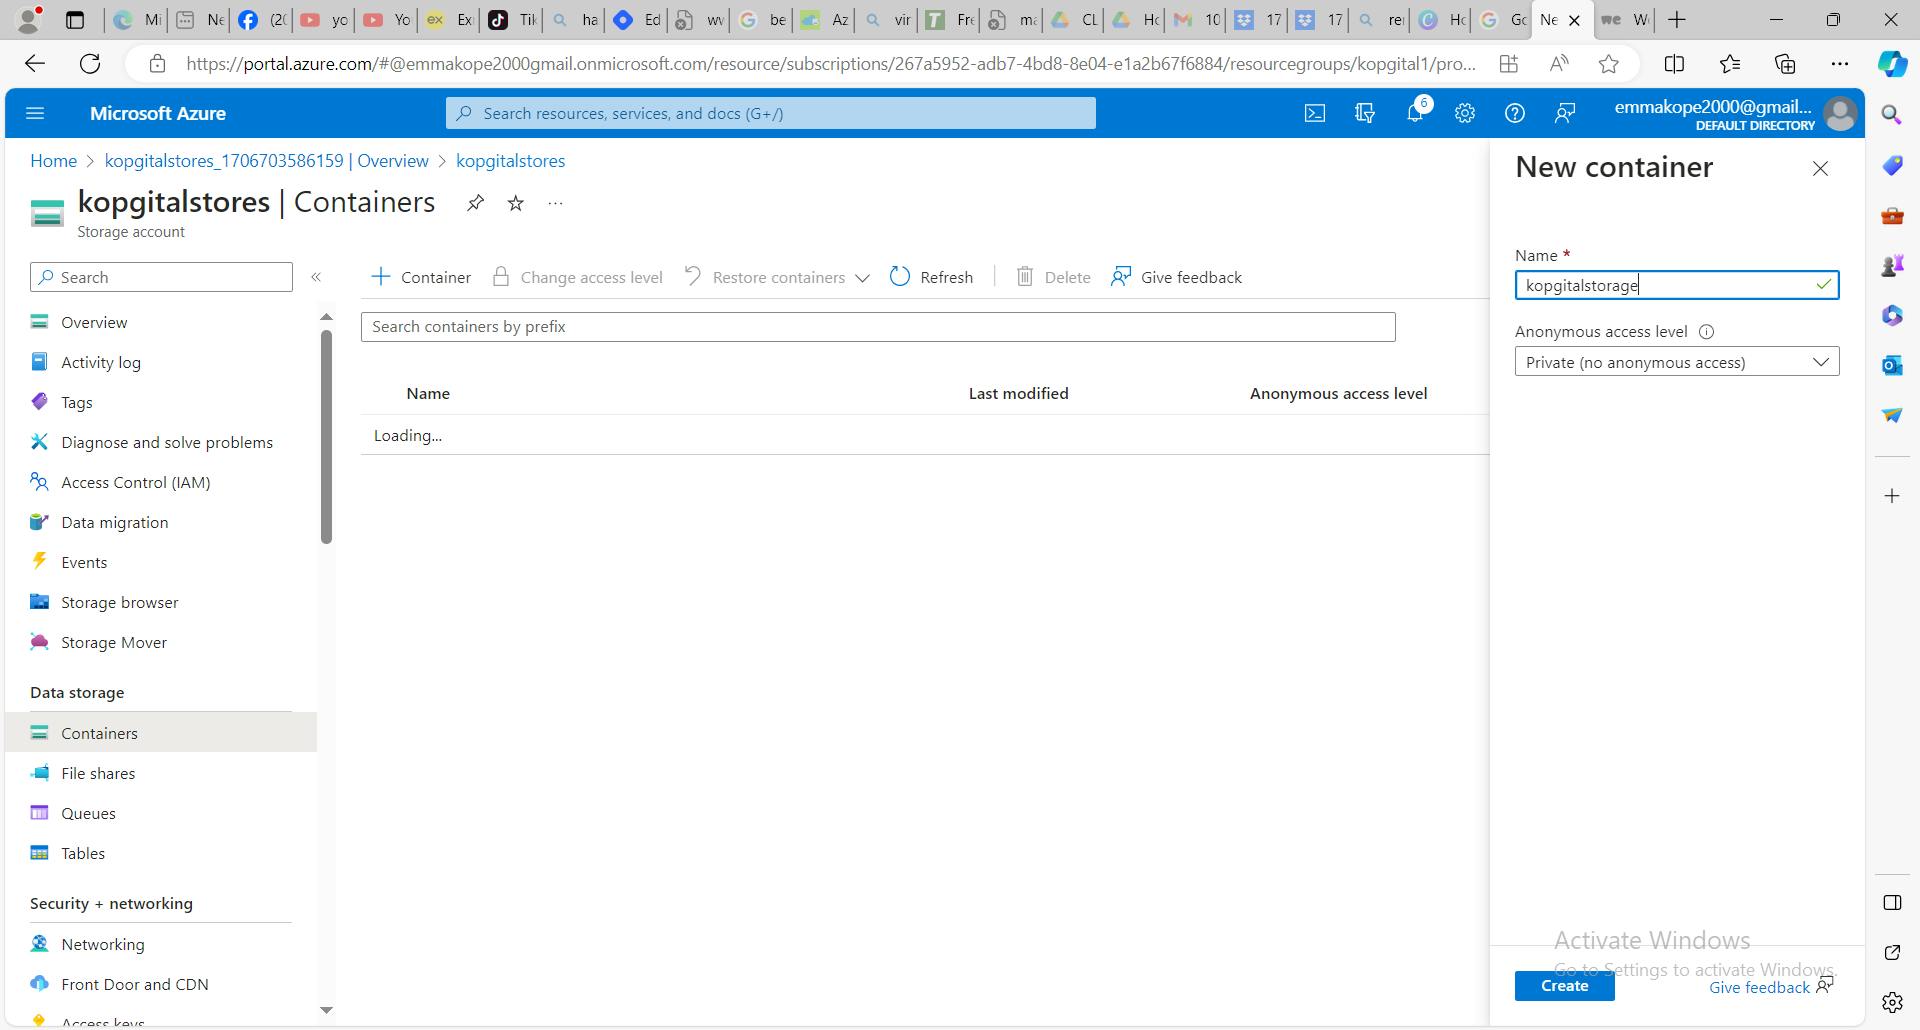
In the box marked with red arrow above, give a name to your container
Click on the rectangular box marked with red to create the storage container as we have in the image below
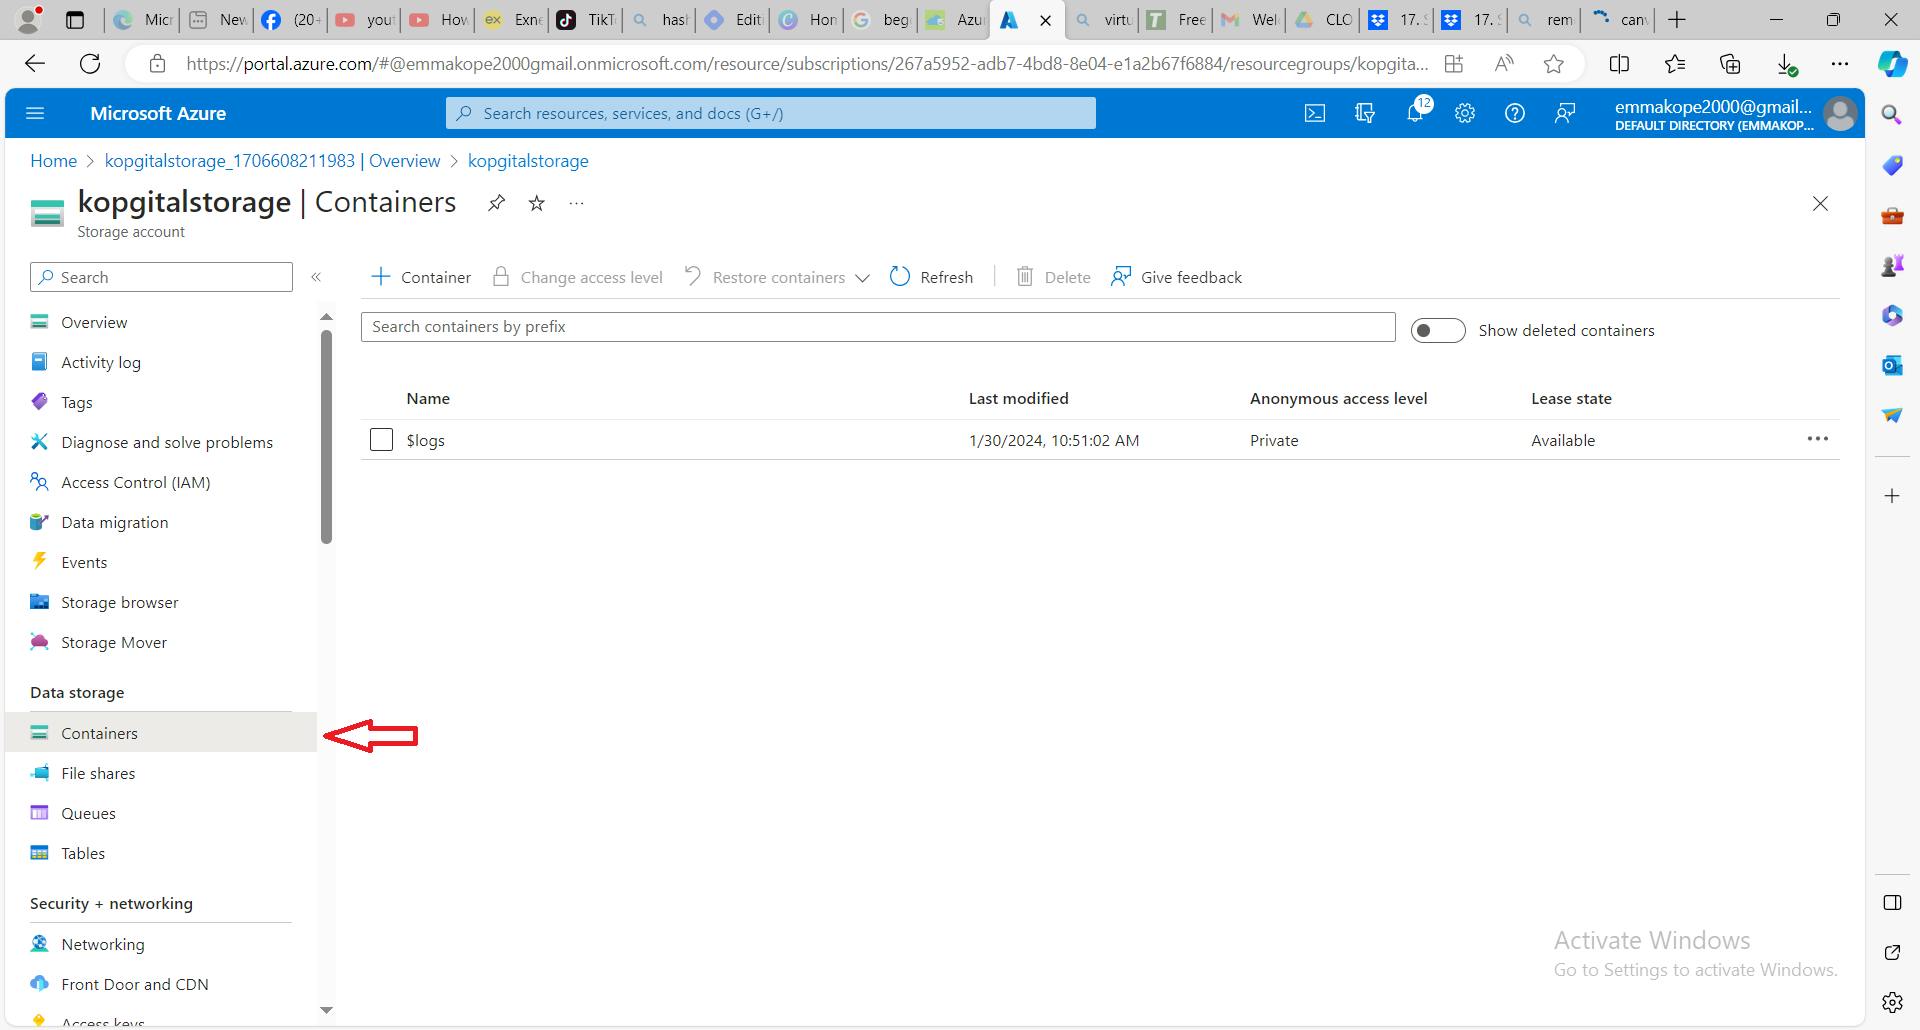

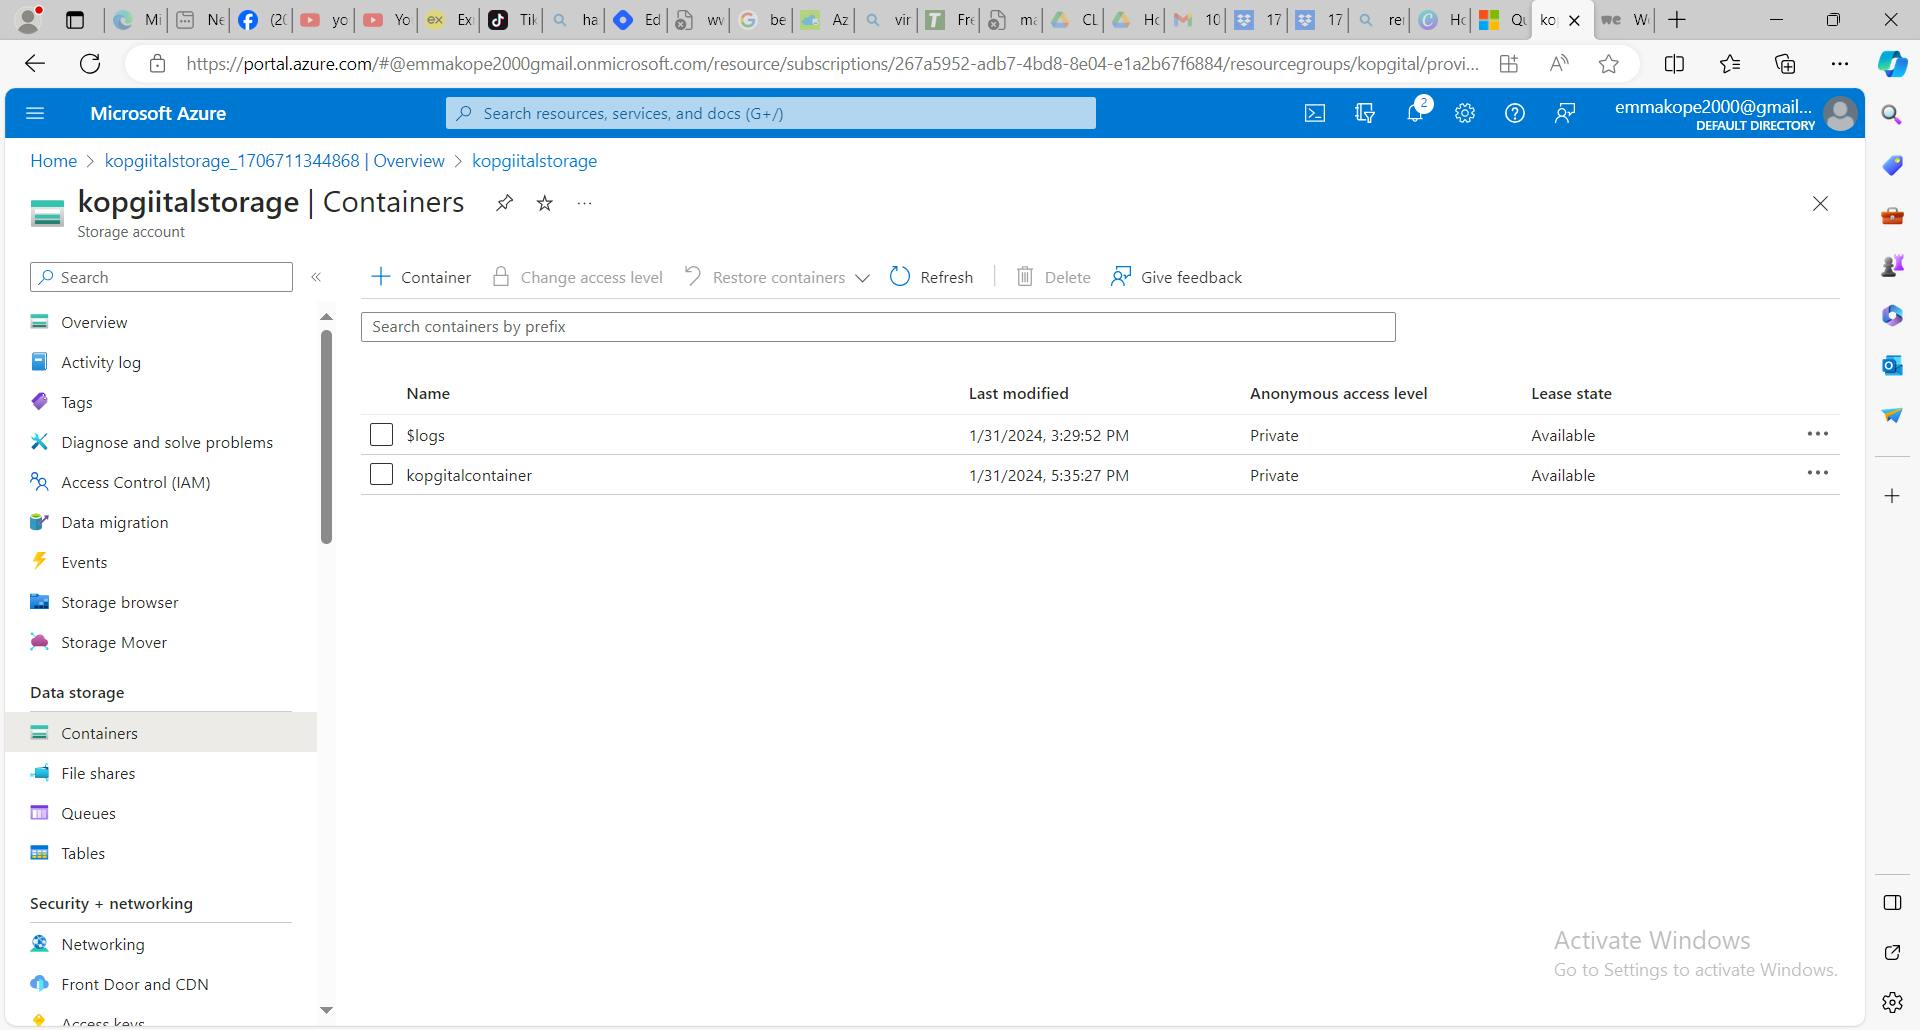
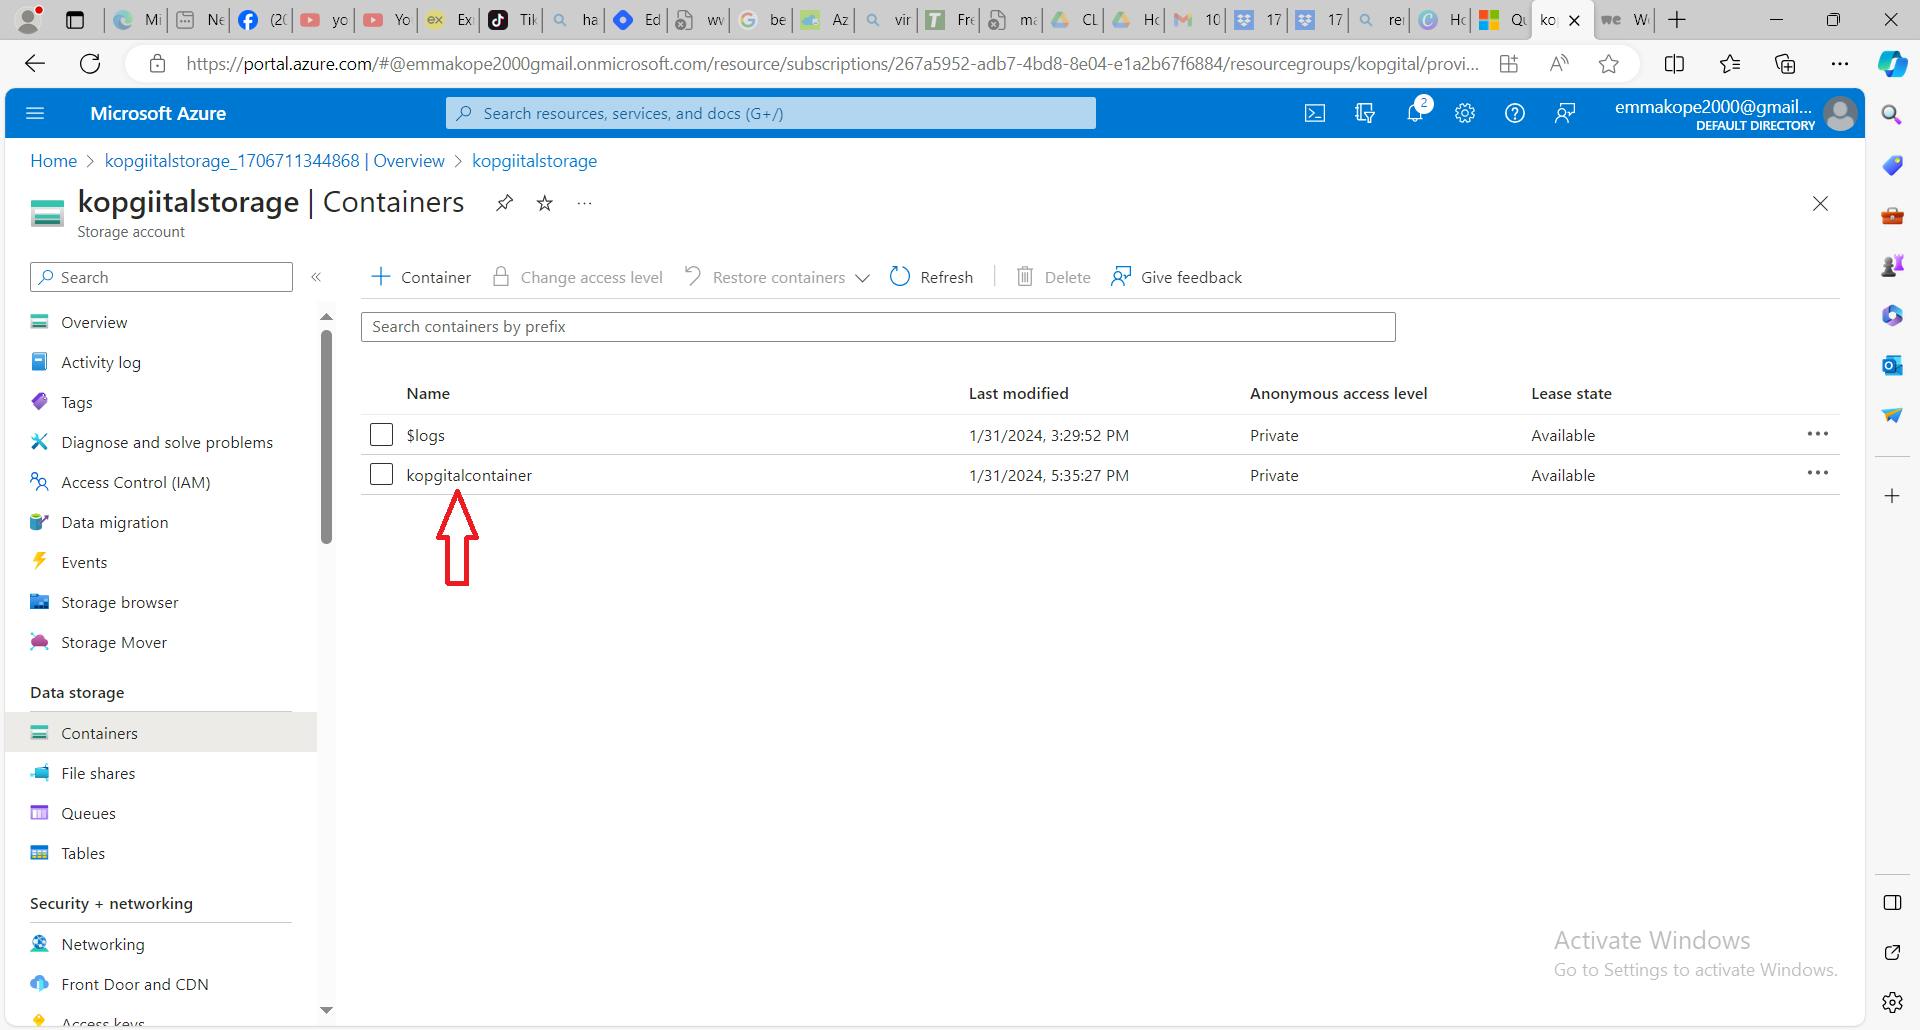
- See our newly created container below marked with the red colored arrow
CREATING A BLOB ACCOUNT
Blobs consist of data assembled to make a blob. Most scenarios using Blob storage employ block blobs. Blobs are ideal for storing text and binary data in the cloud, like files, images, and videos.
To upload a blob to your new container in the Azure portal, follow these steps:
In the Azure portal, navigate to the container you created.
Select the container to show a list of blobs it contains. This container is new, so it won't yet contain any blobs.
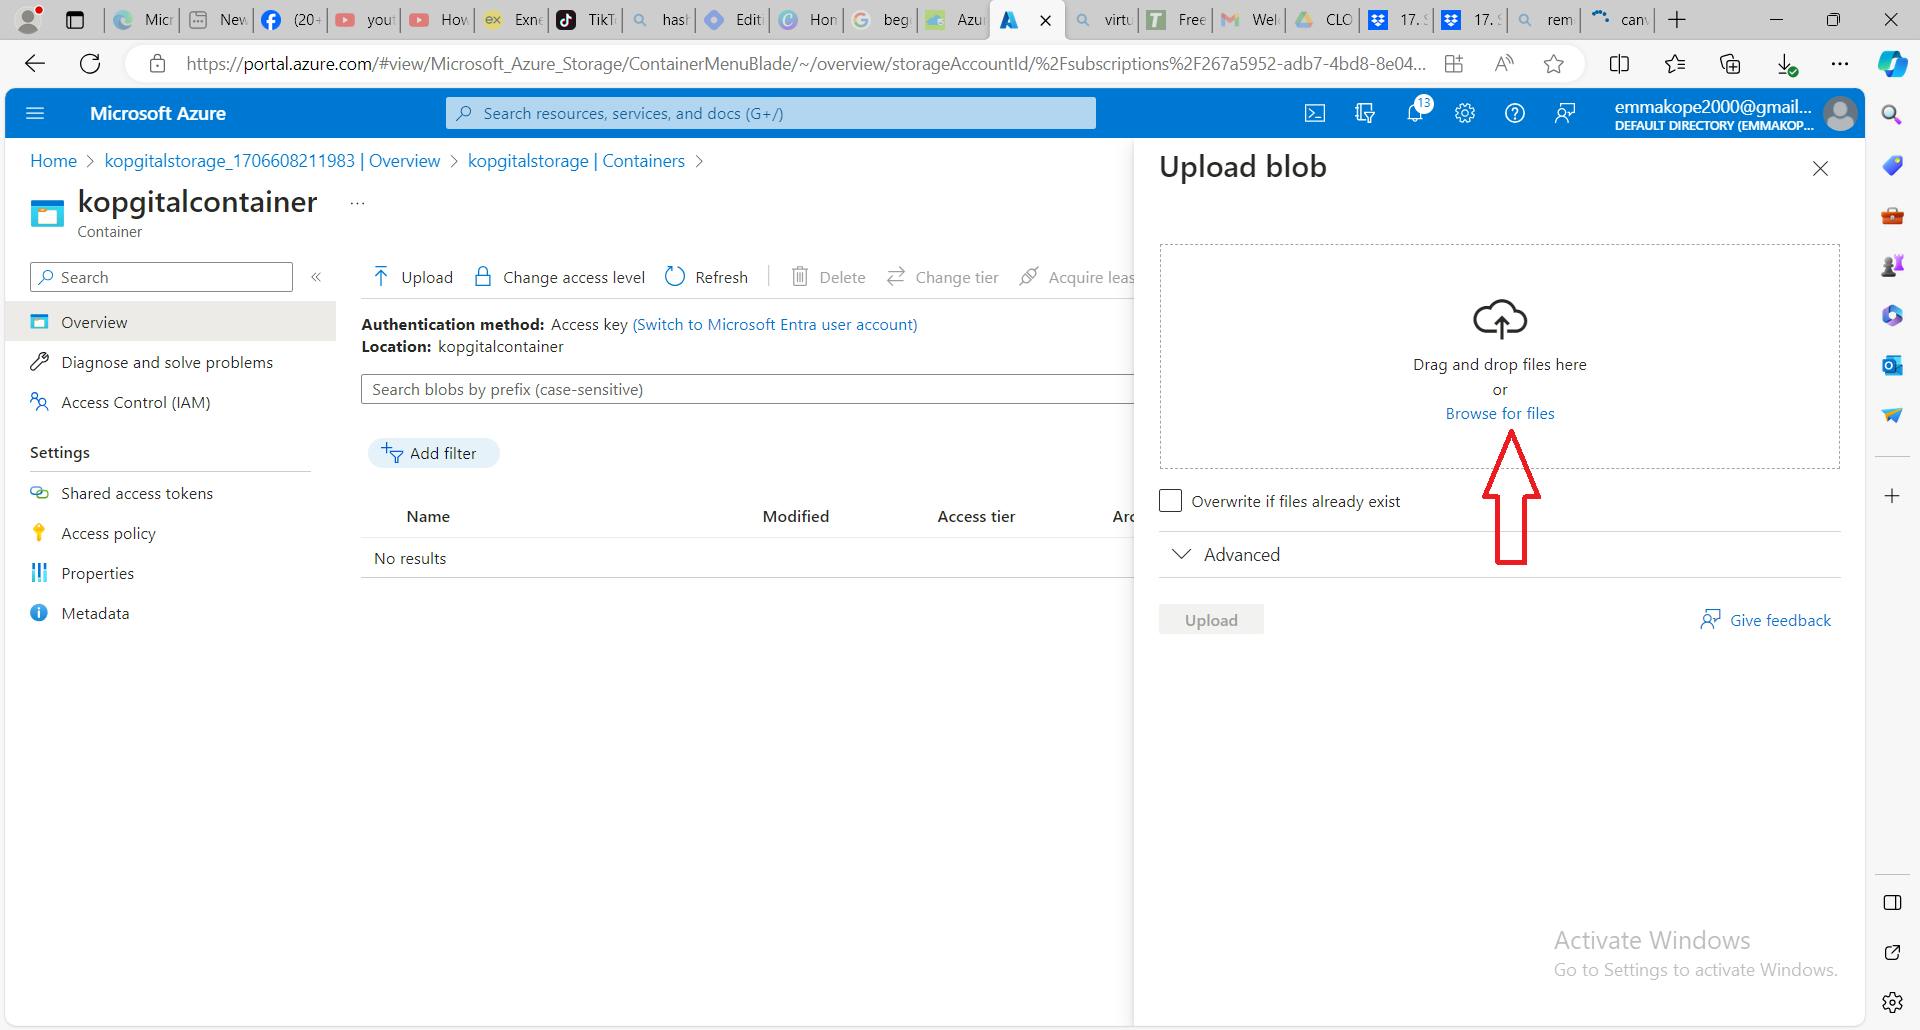
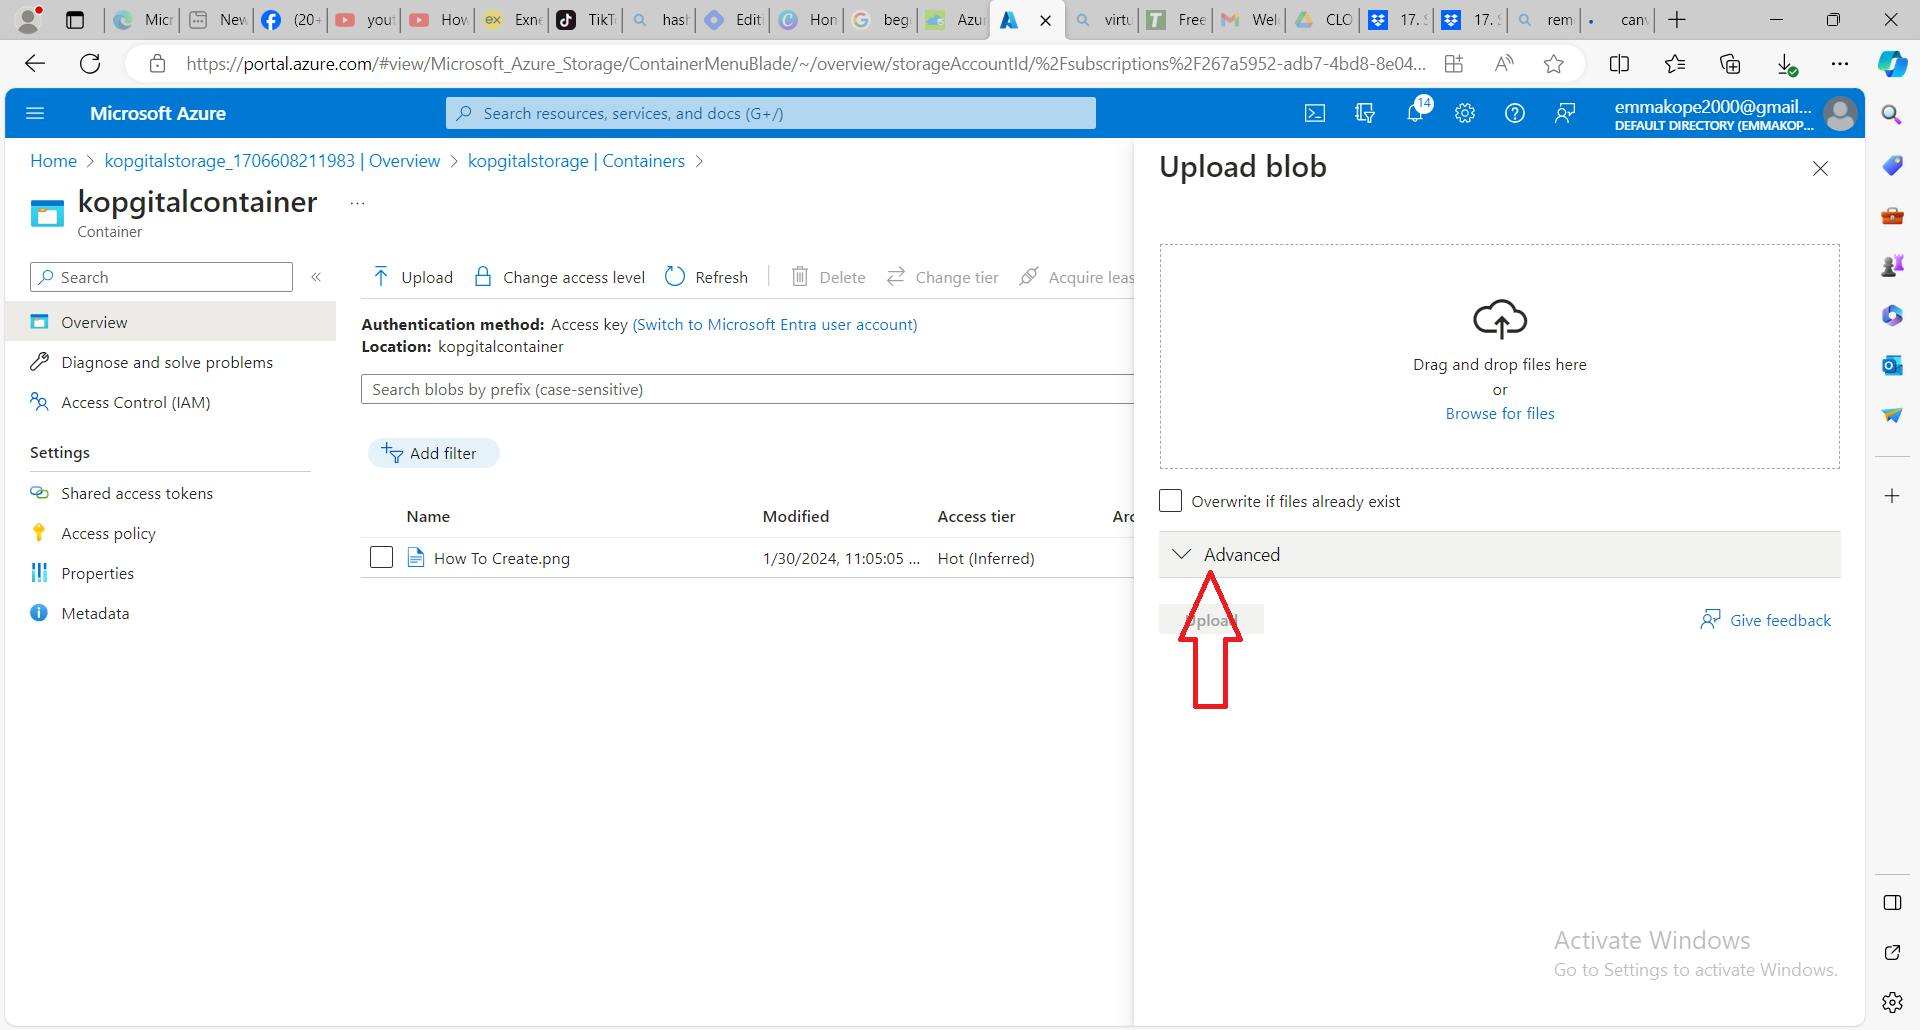
Select the Upload button to open the upload blade and browse your local file system to find a file to upload as a block blob. You can optionally expand the Advanced section to configure other settings for the upload operation. You can Upload to folder field.
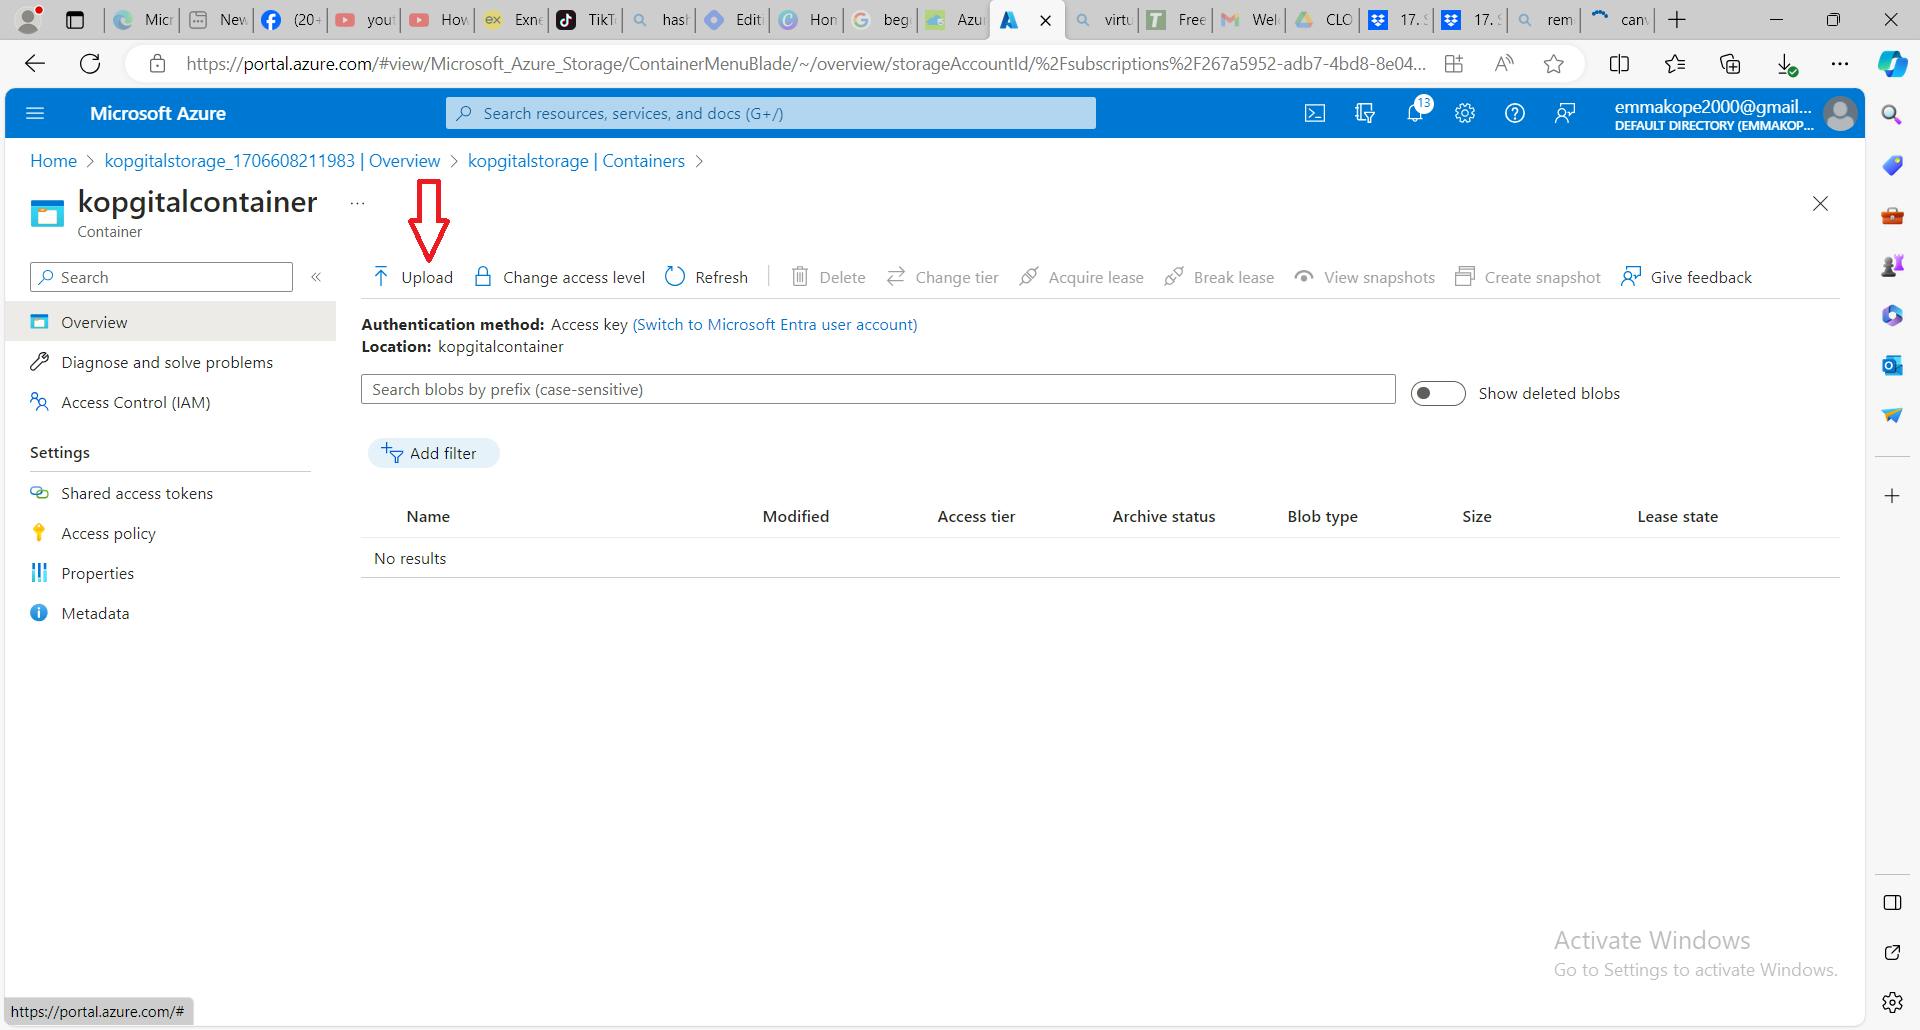
Click on the container with the red pointed arrow to create a blob account
- Click on the 'upload' box marked with the red arrow to load a file into the intended blob to be created
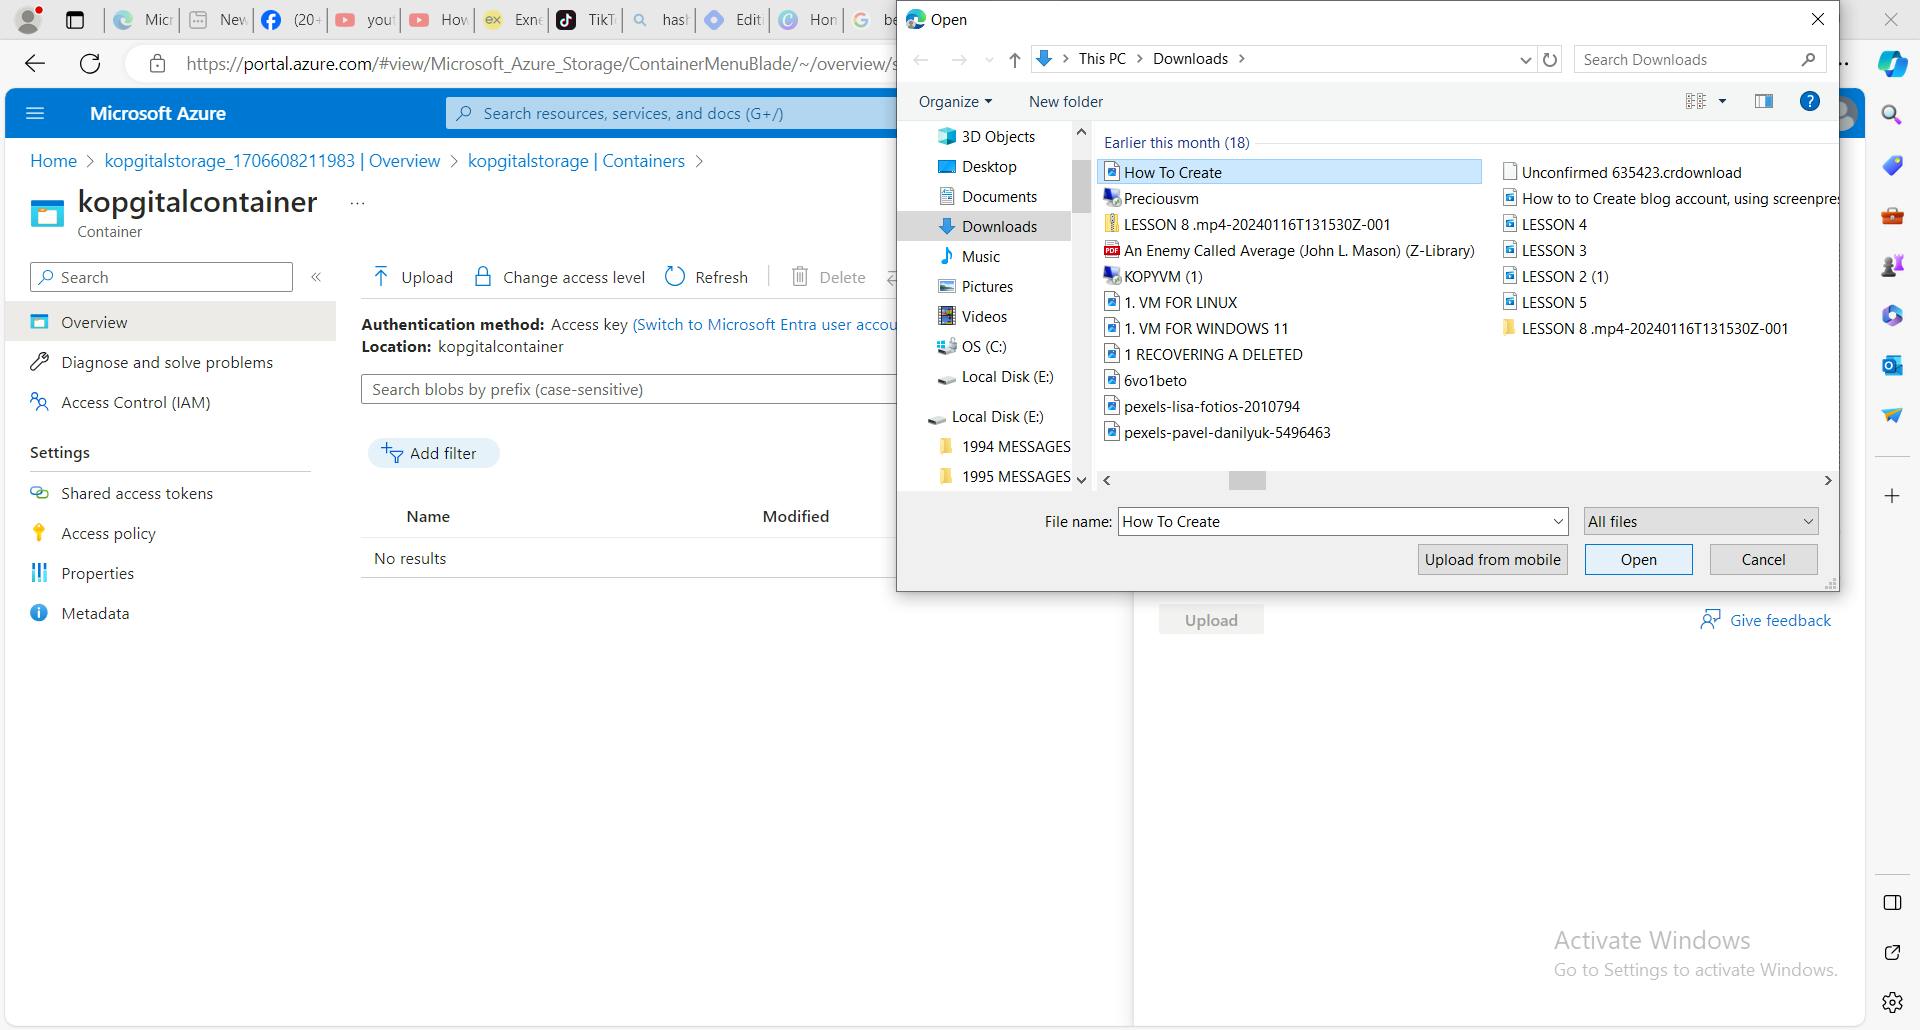
Click and open the portion with the pointed red arrow to select a file
Select the file from the field where the file as been saved
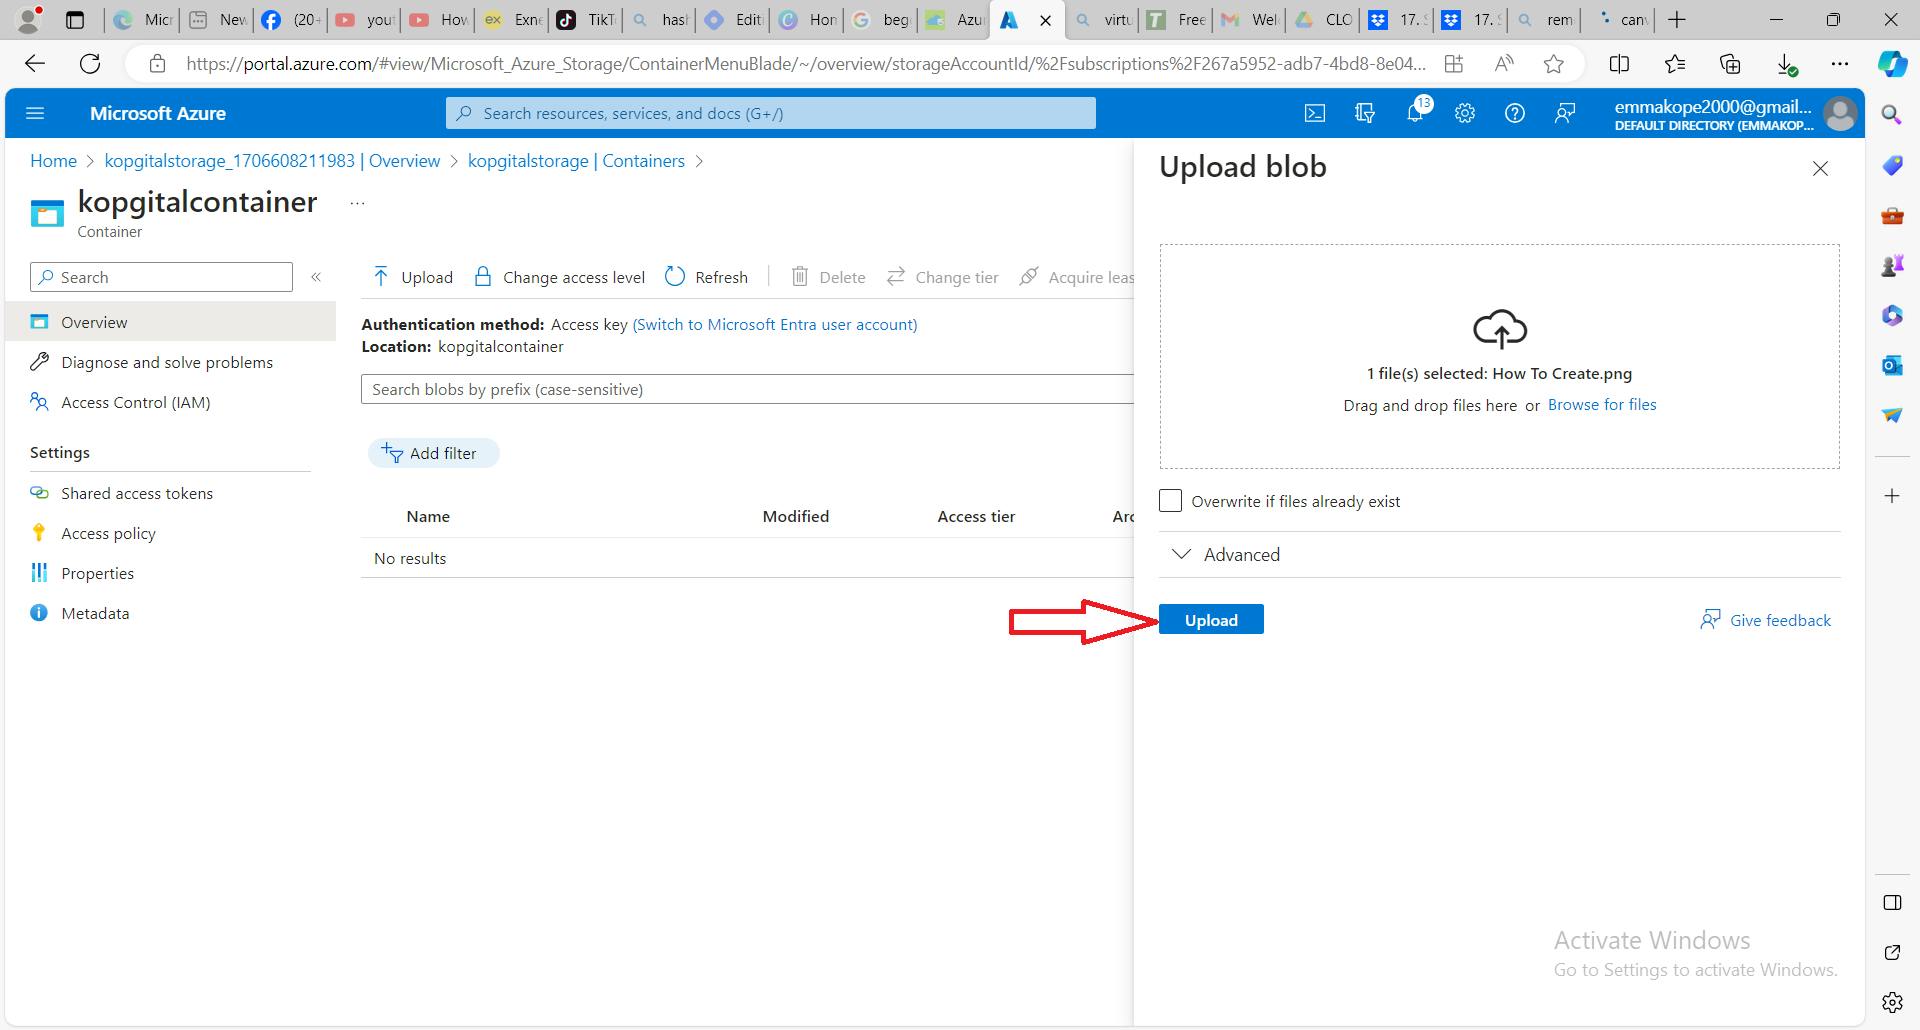
Click on the upload button load the file into the storage
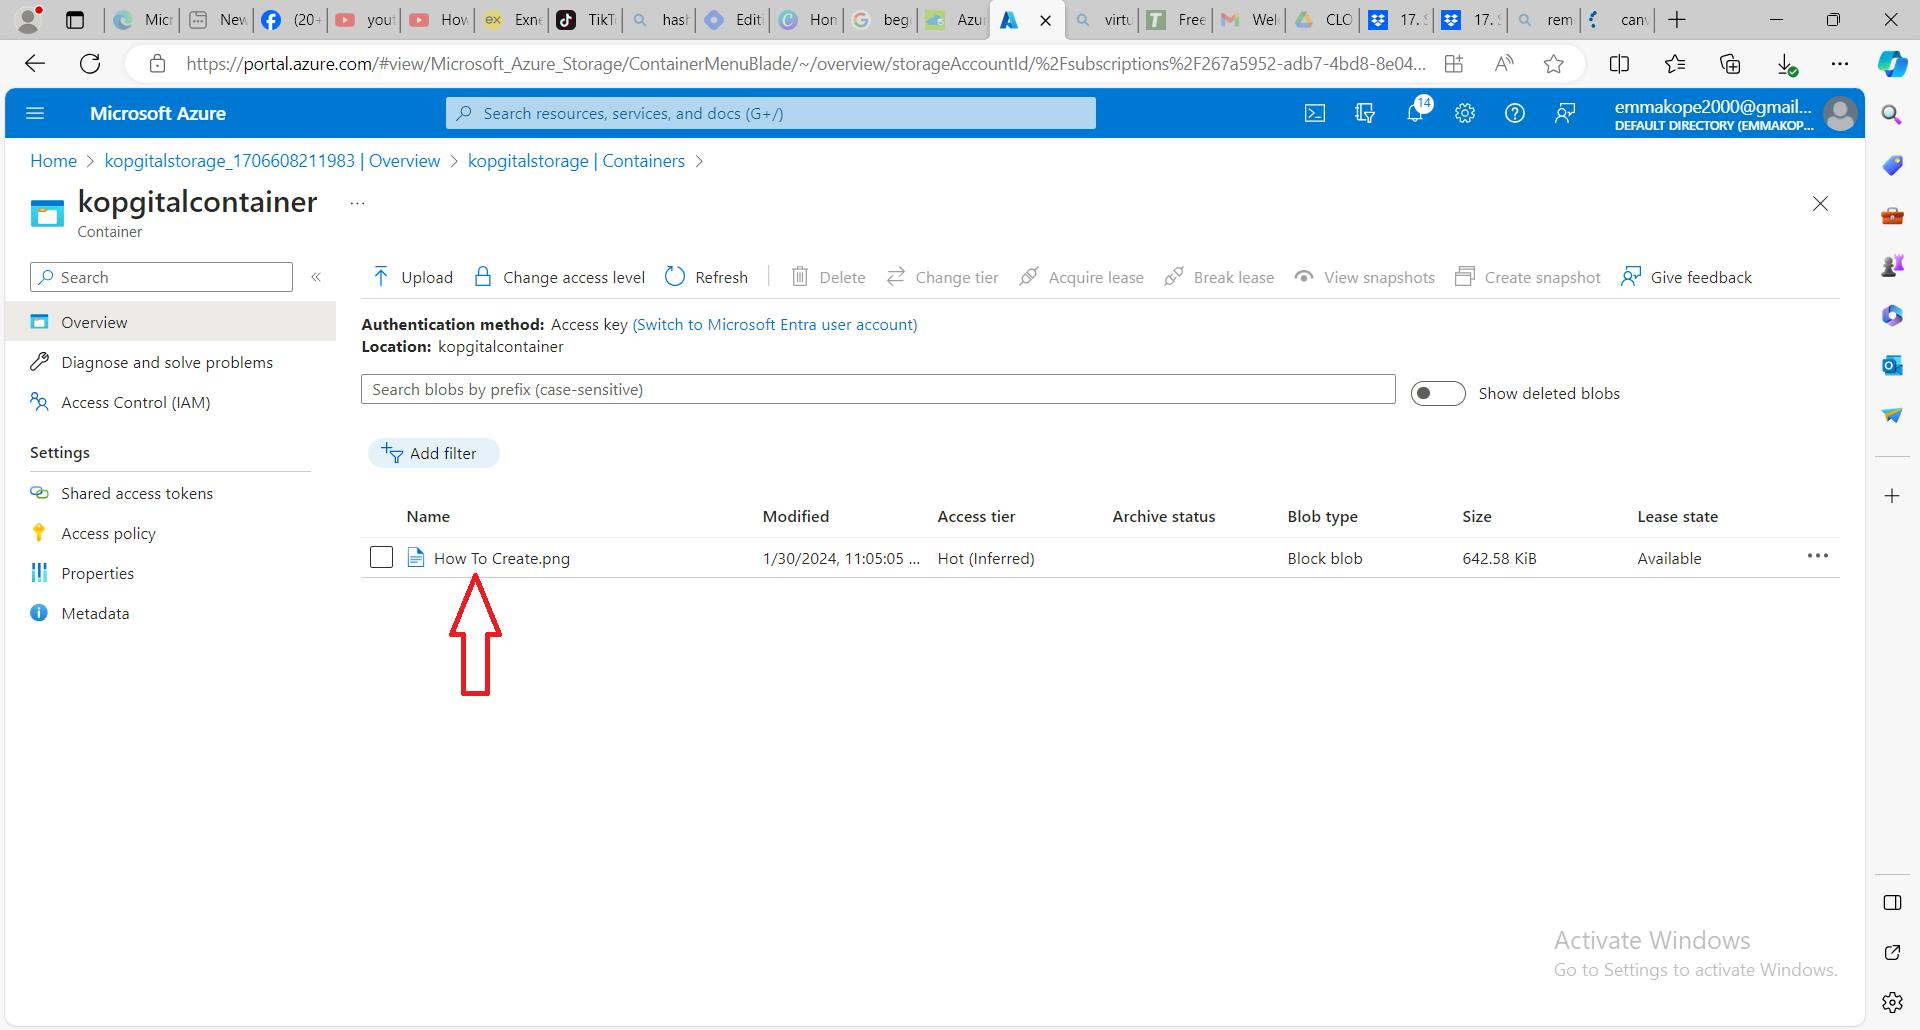
Here is our blob marked with the red pointed arrow
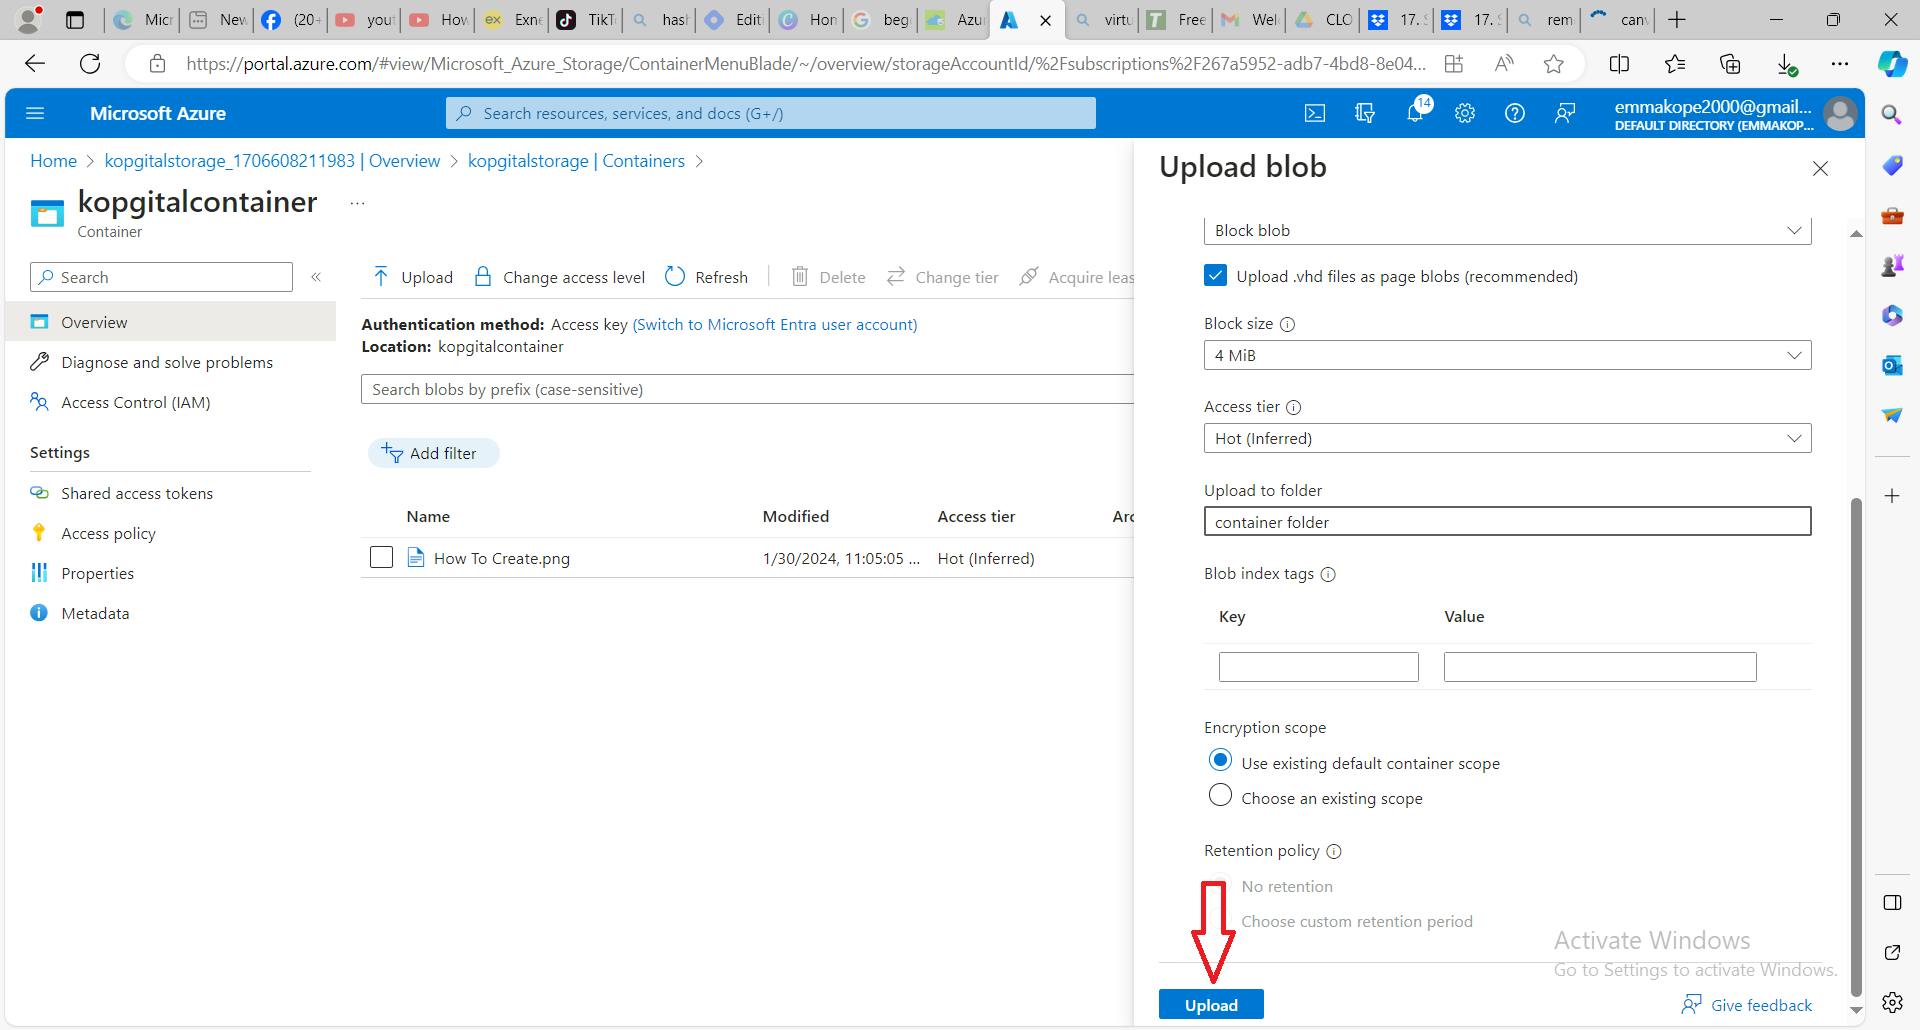
- In case you want to bring in your blob in a folder. Click on the advanced button in the image below
In the dropdown menu, give a name to the folder and select the file from the field where it has been previously saved

click on upload marked with the pointed red arrow
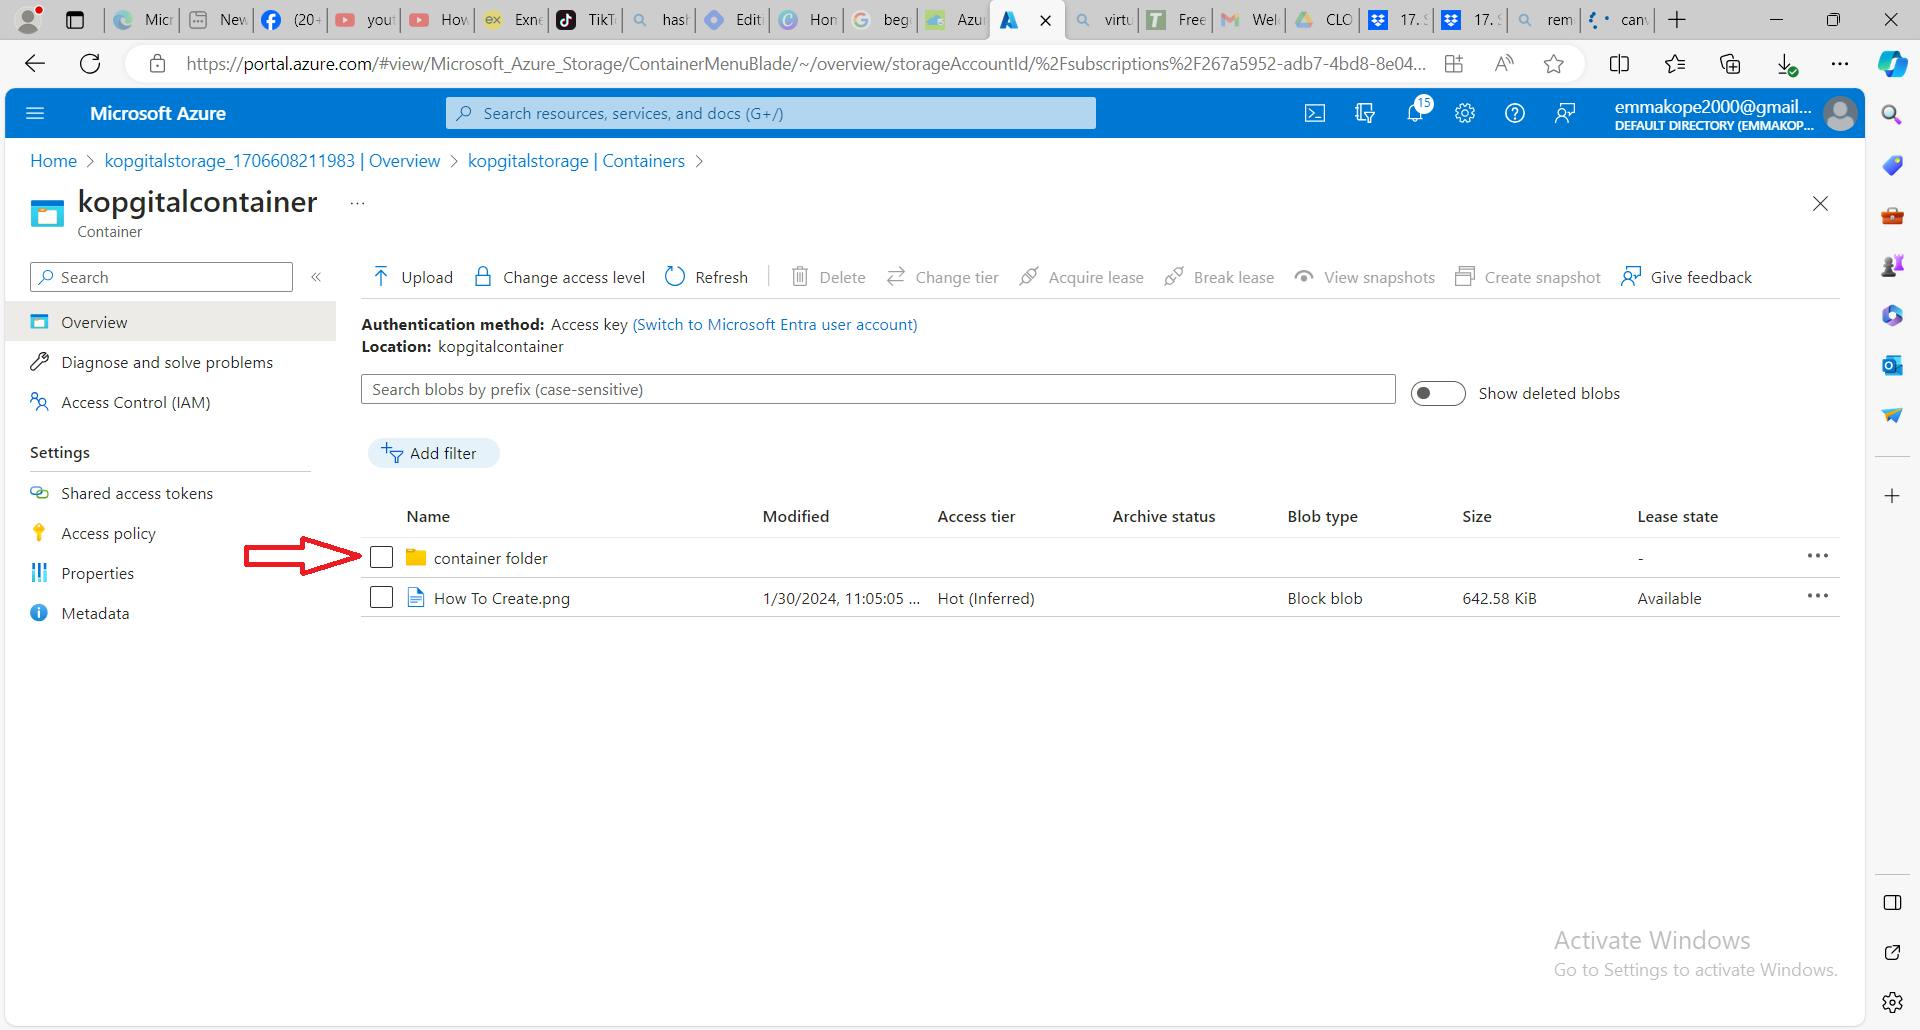
Here, we have the file and the folder in the storage
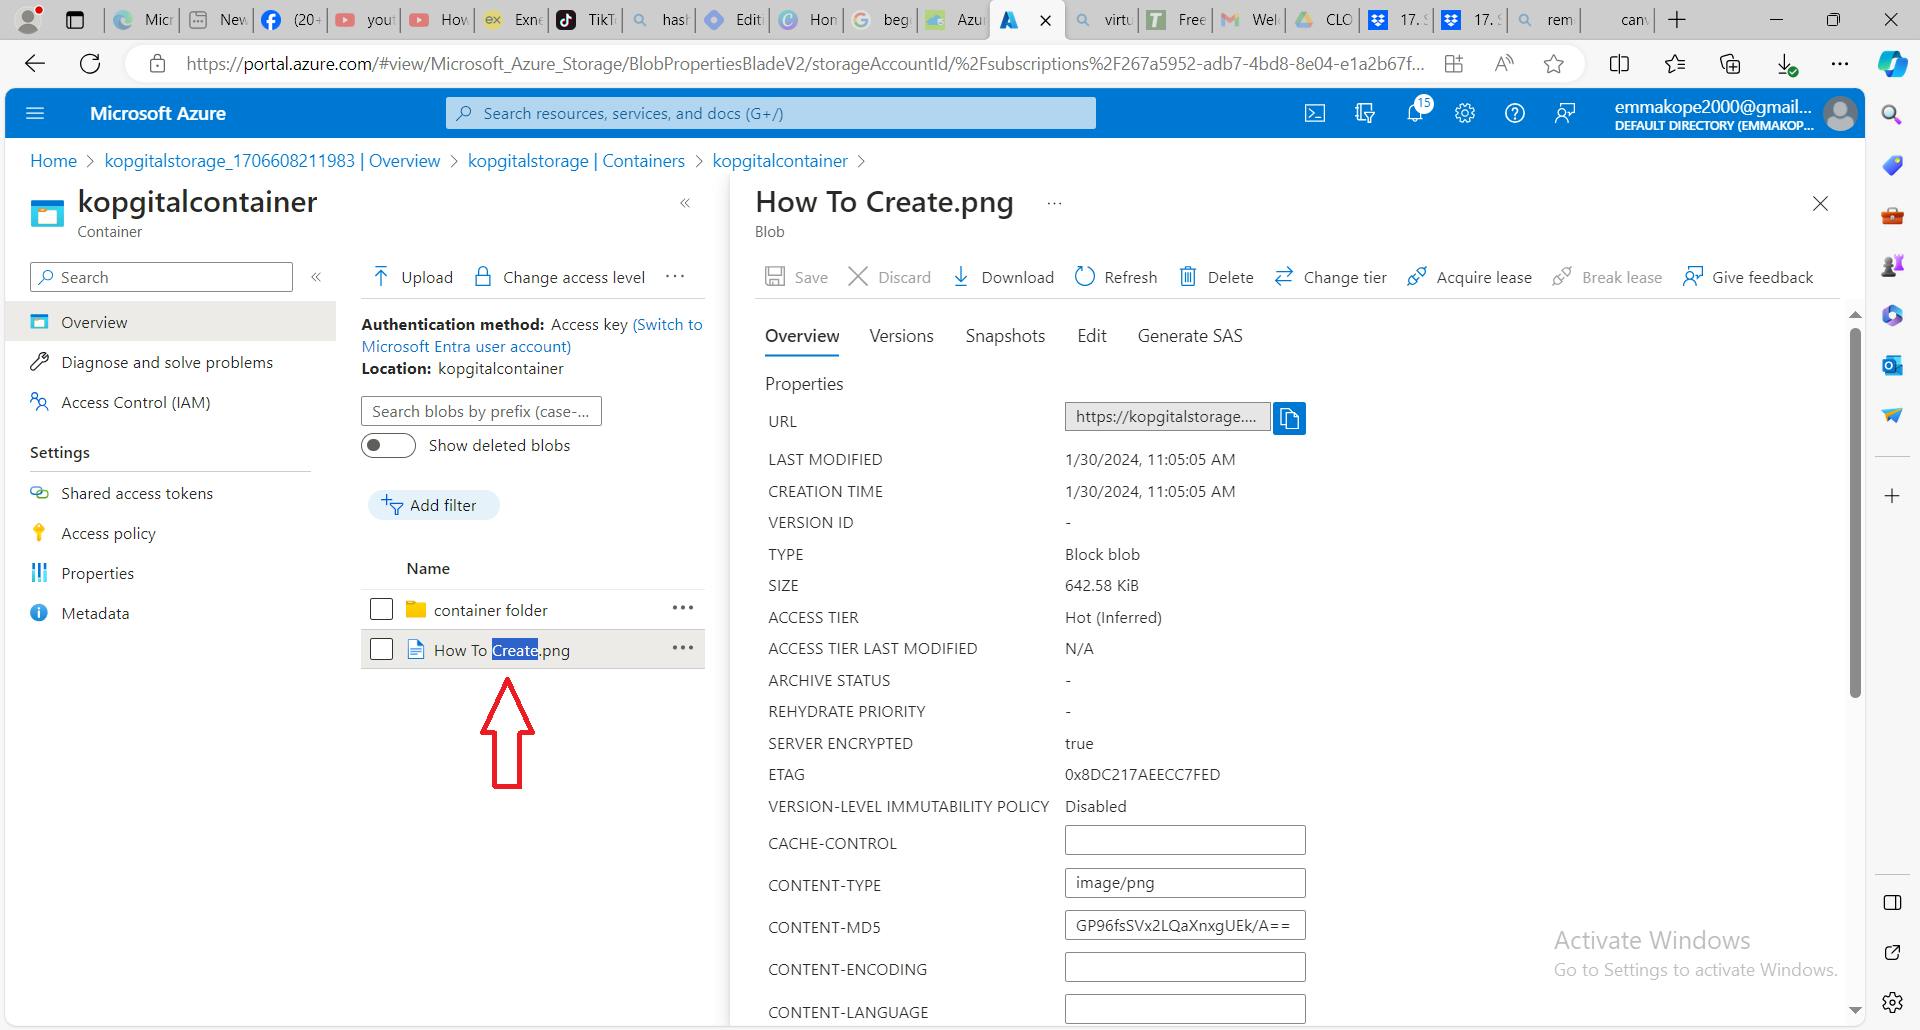
To share your blob with other to access, click on the file and copy the link. Then share it with anyone to access
Because the file is configured as anonymous, when the link is pasted on the browser by the person you sent the link to, they won't be able to access it. What will be displayed is what we see in the image below

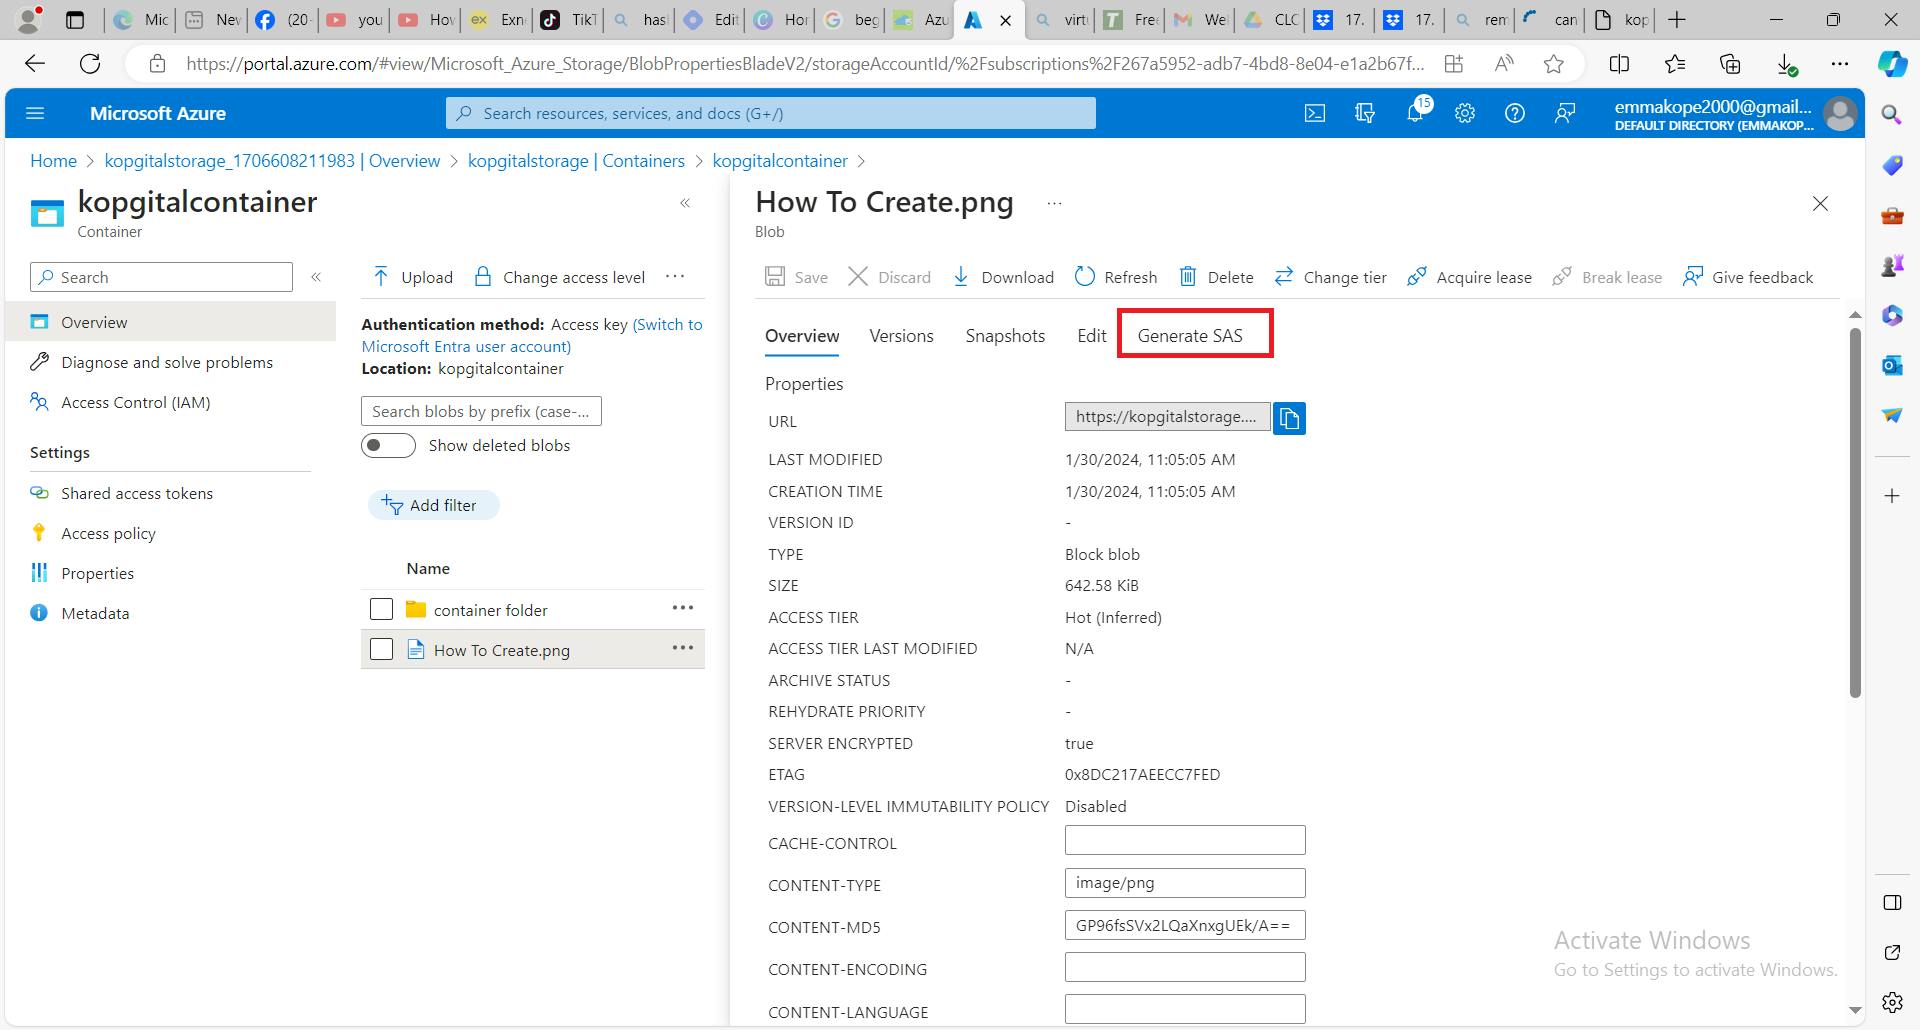
To grant access to your shared blob for a specific time, you can use 'shared access signature' SAS to reconfigure the file by clicking the tab marked with the rectangular box below
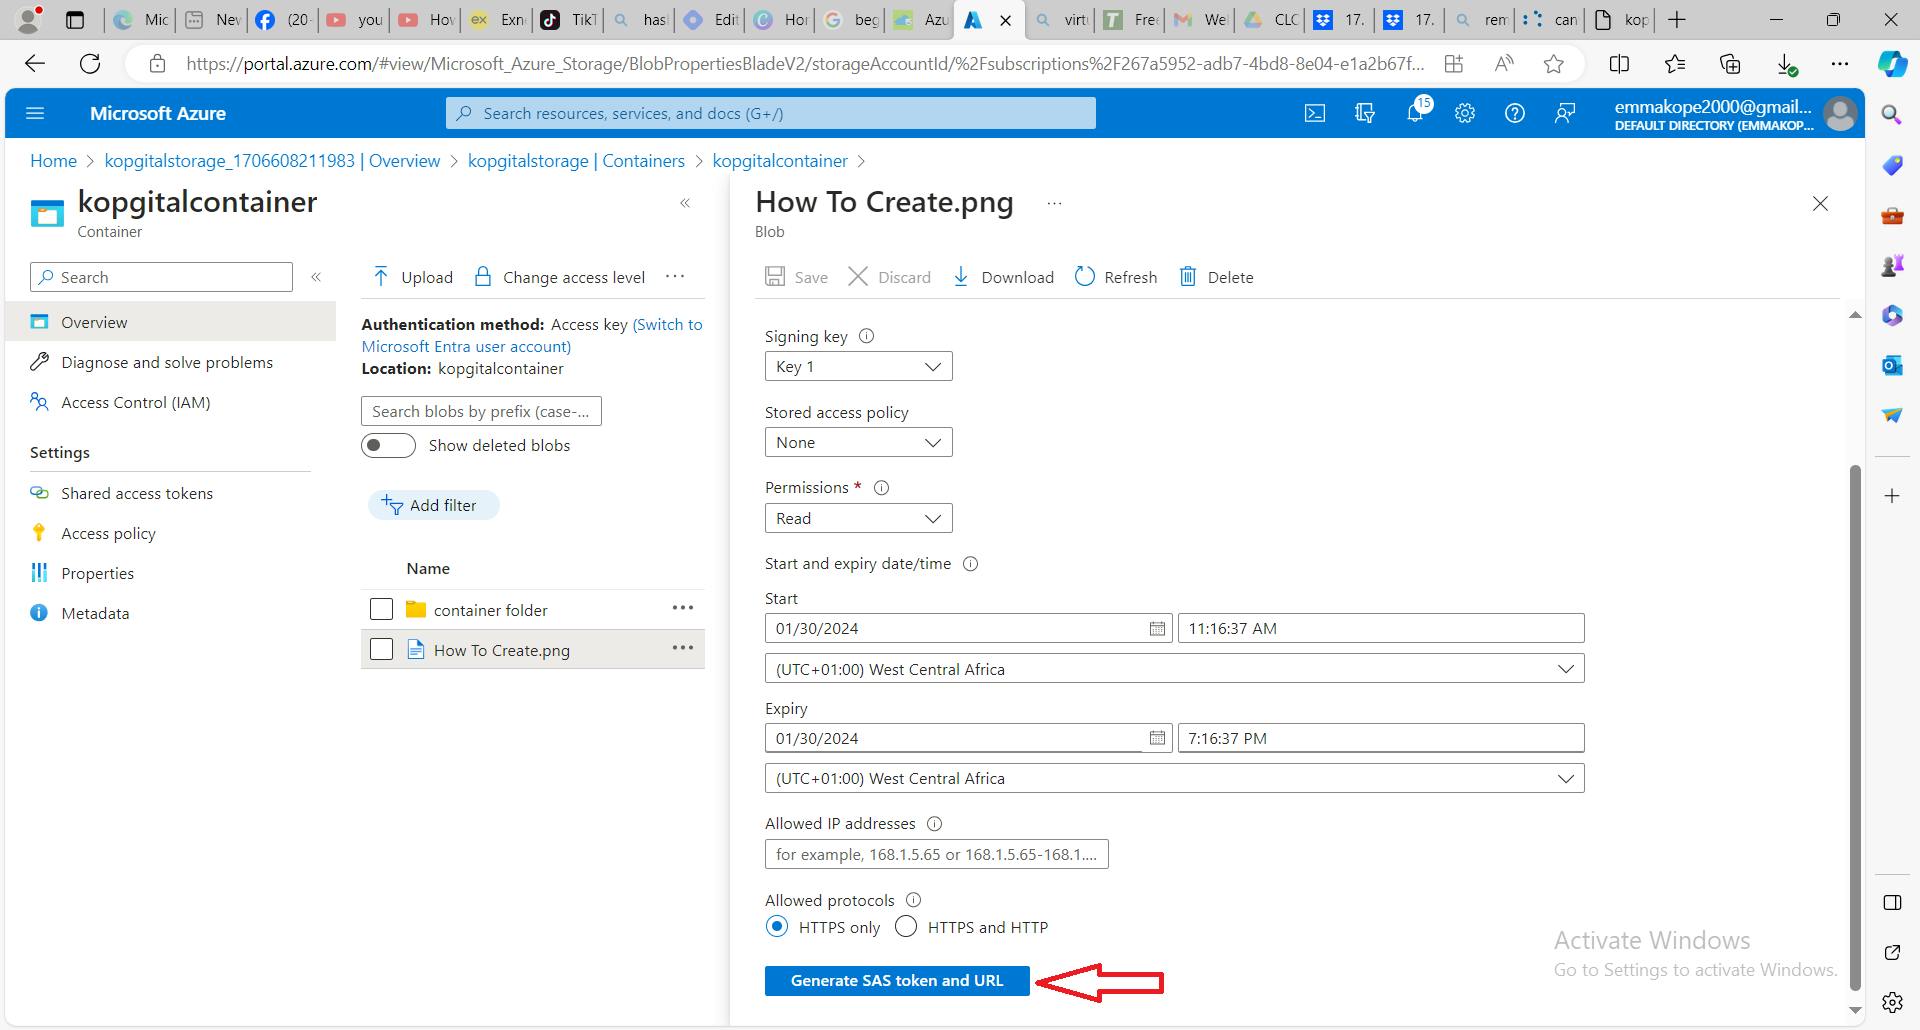
in the two boxed marked with the pointed red arrows in the image below, input the time you want people to access the file by changing the start and expiry times.

Click on the blue icon box marked with the red pointed arrow to generate token and URL you will share with others
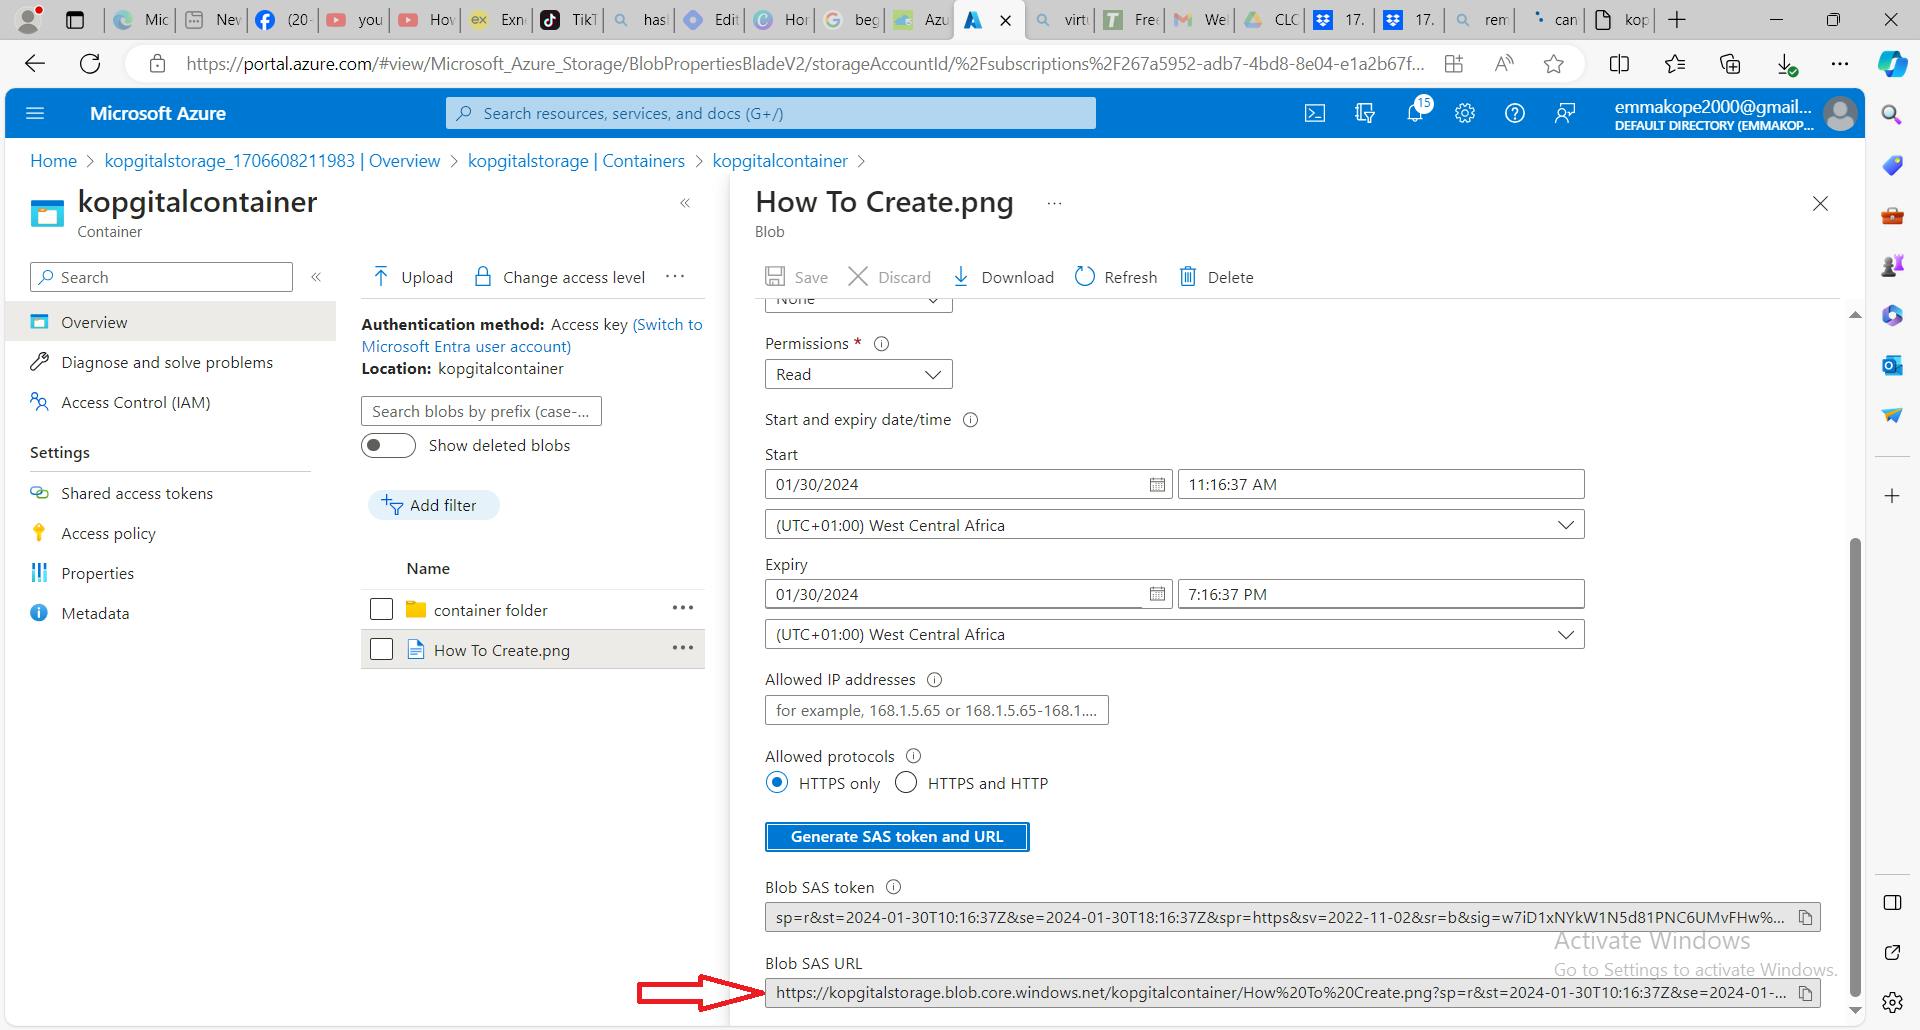
17. The token will be generated when you click on generate token as seen in the image below. Copy the blob SAS URL
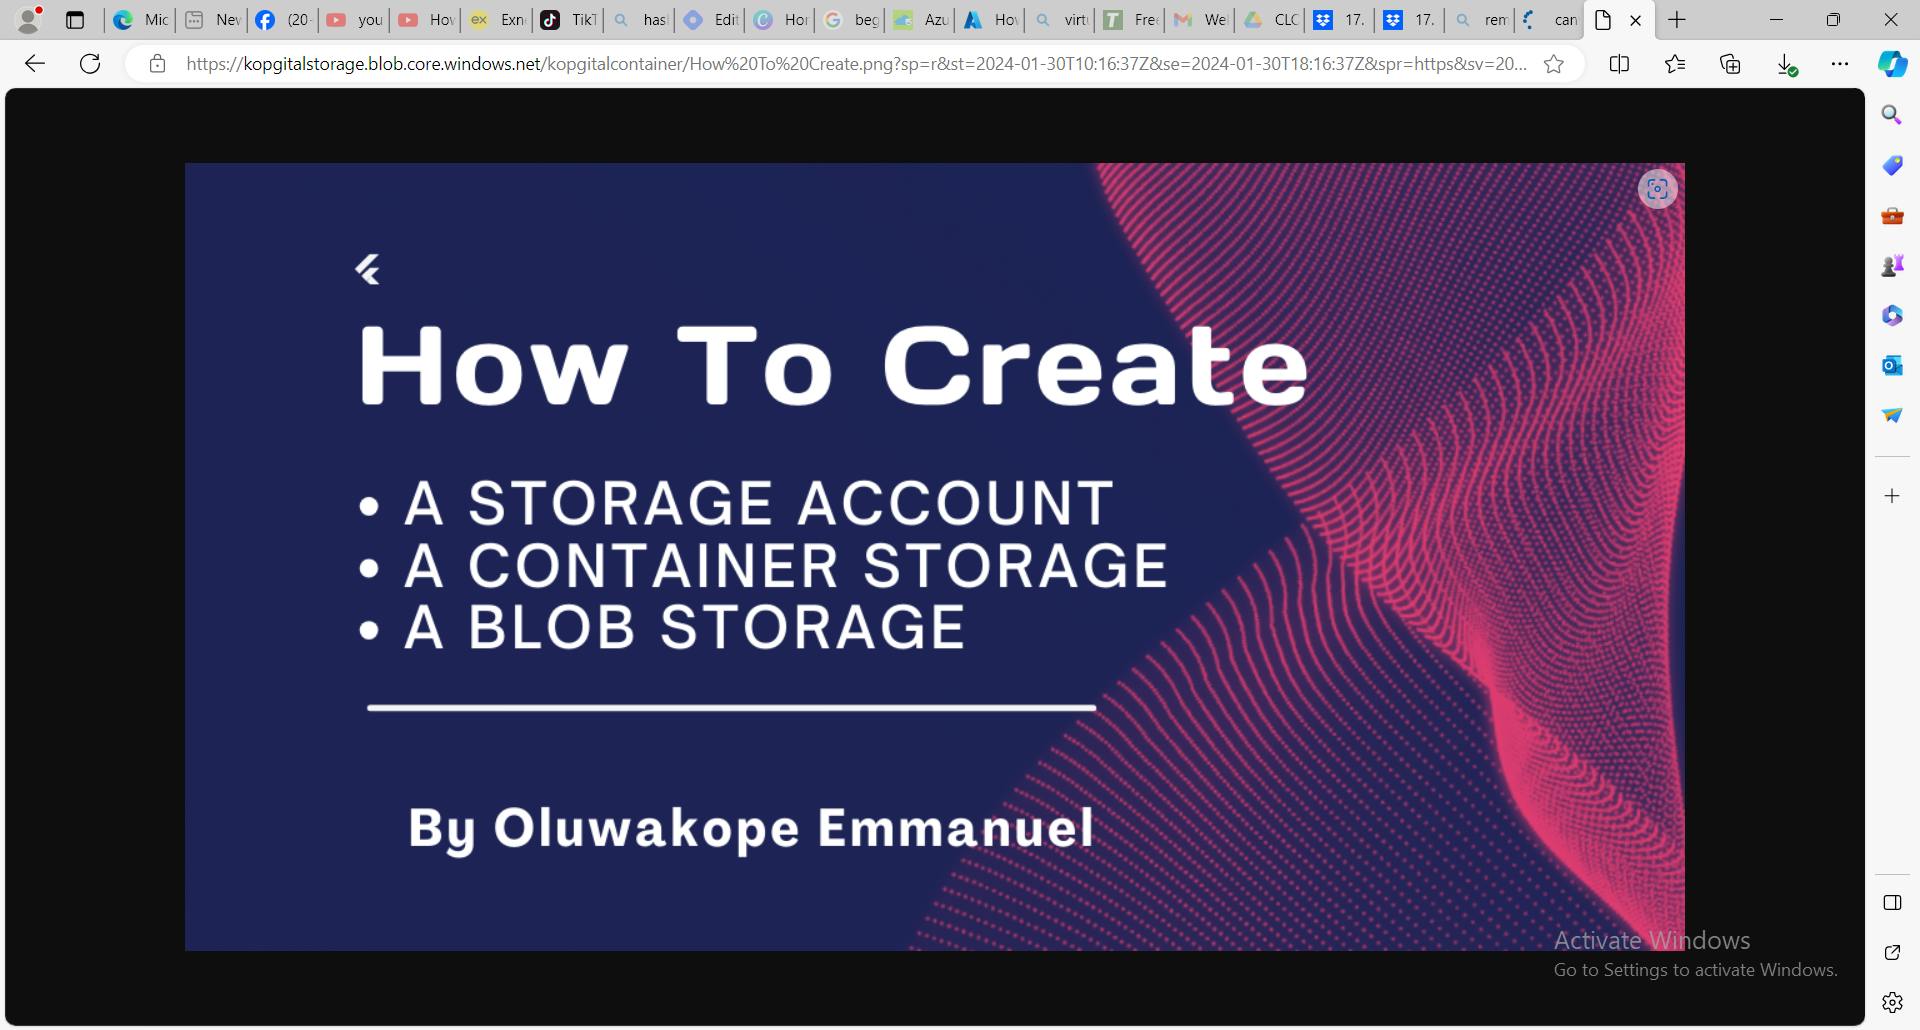
When you paste the copied SAS URL link on your browser, the content will be accessible just as we have the image below
18.